Please keep improvements open and derivative files free. Paid printing and assembly are welcome. Why keep it open?
Early test models, not a complete goal. Small TPU and PETG samples have been printed, but a complete goal has not been assembled or tested in play. Full-size printability, ballast retention, and performance remain unverified. Budget for prototyping and adjustments.
Choose your size
Number of goals
2 goals · 2 m each · 16 sections
Choose the overall goal length. Each build has two corner sections and middle sections in 250 mm increments.
Usable trough length
Approximate finished weight per goalPETG + added ballast weights
Prices are planning inputs supplied by playunderwaterhockey, not live store prices. The weight-pack estimate uses budgeted dollars rather than an exact count of individual weights. Large builds may need more magnets or glue. Follow the model’s orientation and adhesion guidance, and verify the final quantities in your slicer.
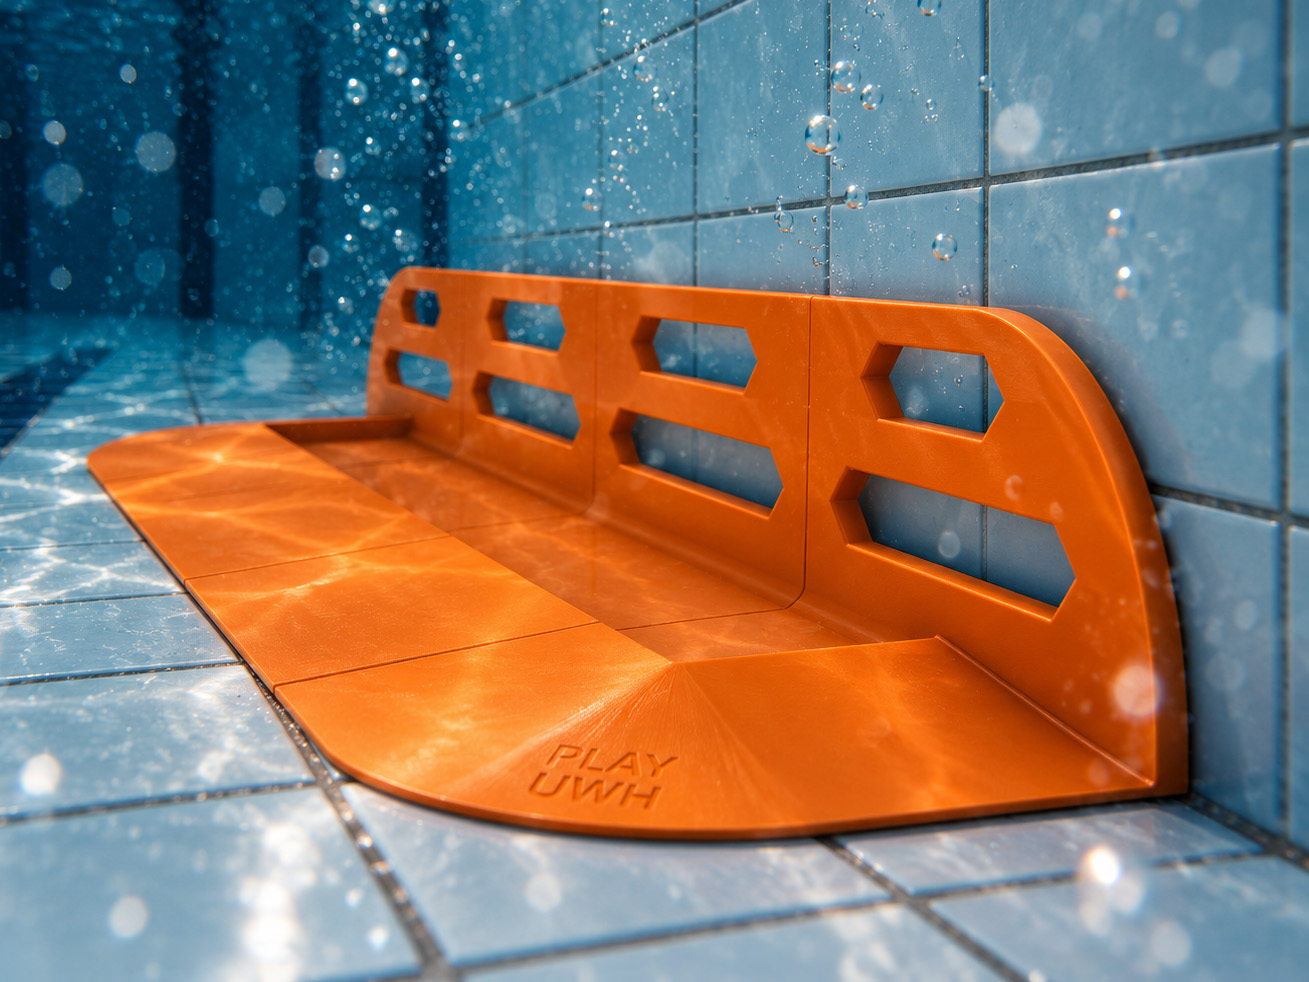
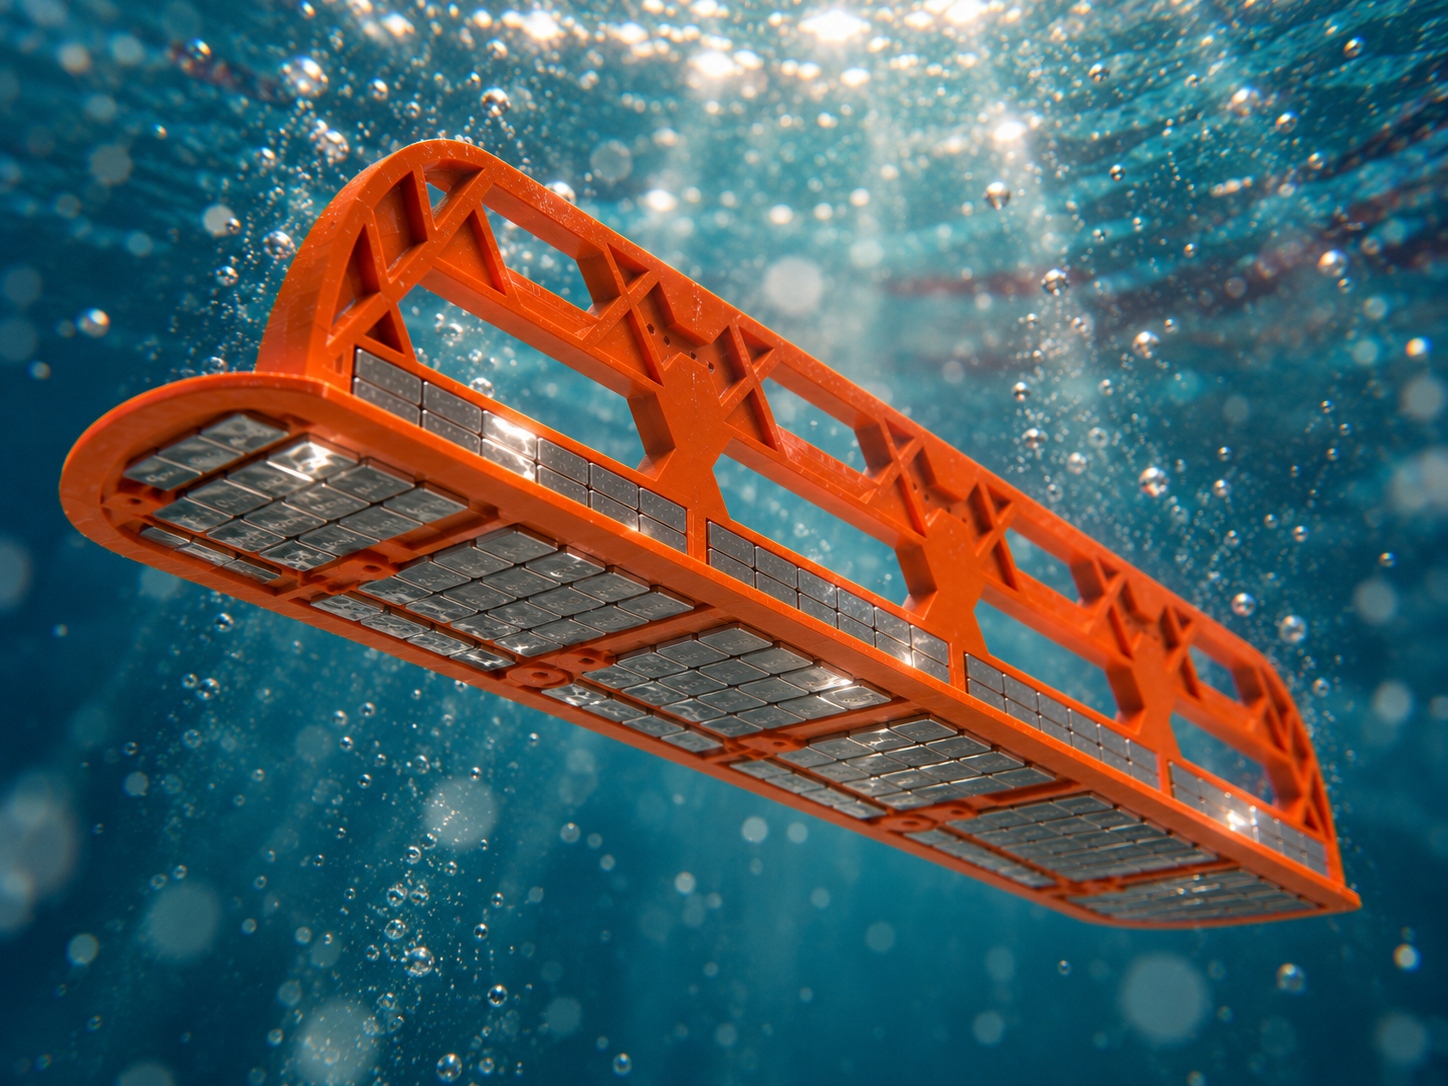
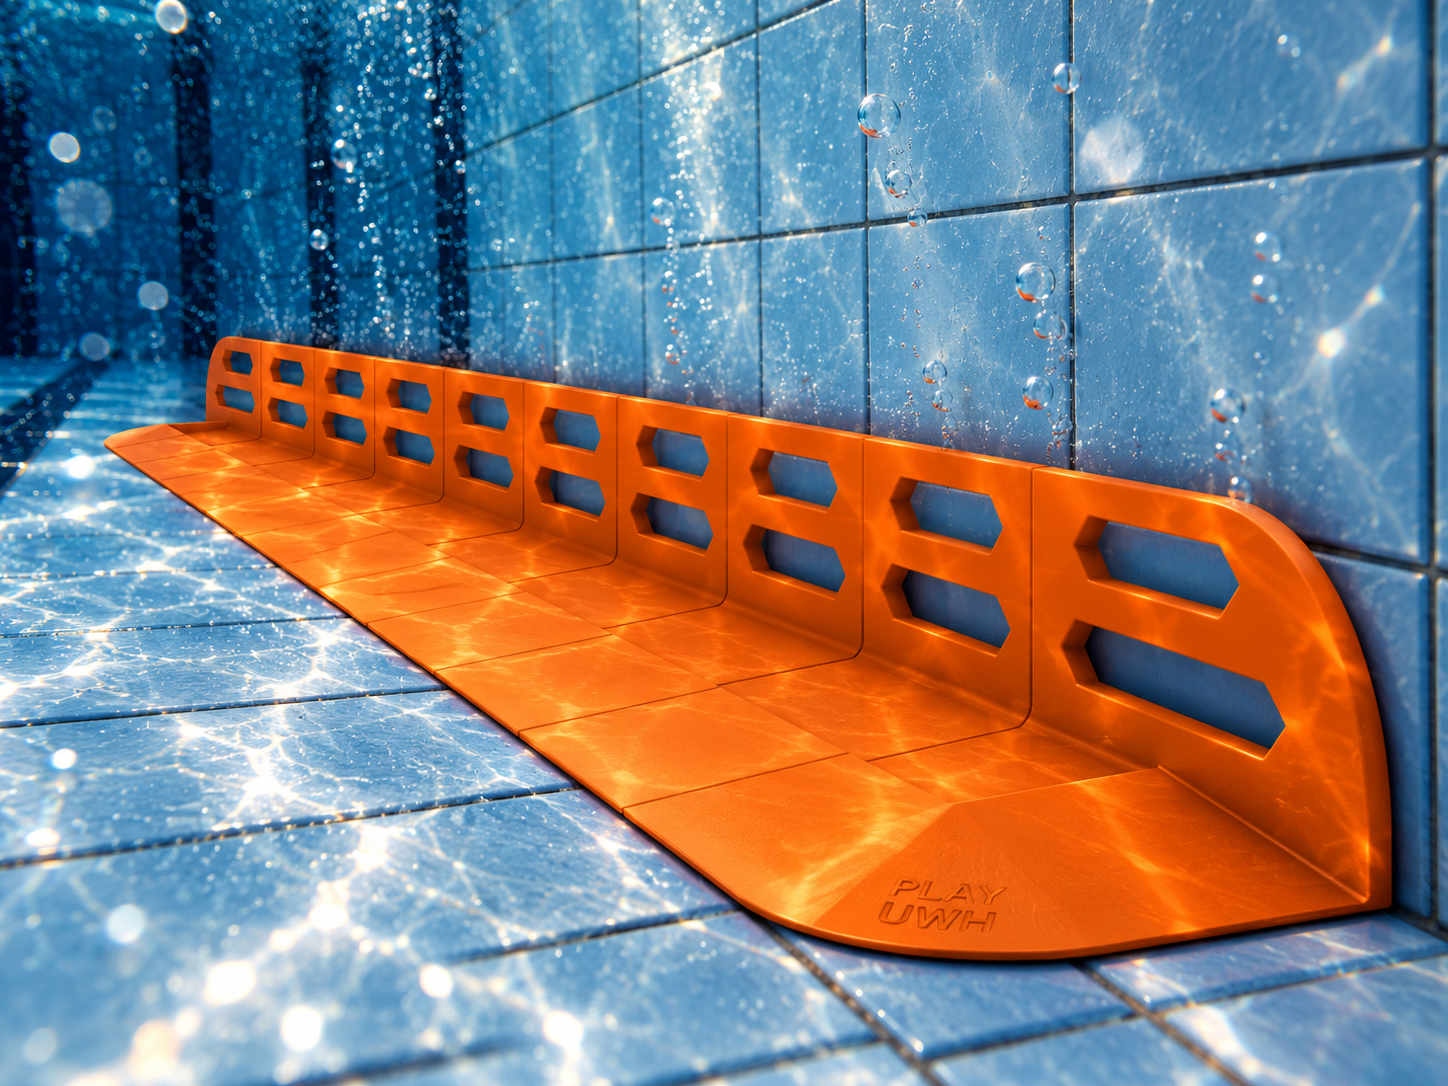
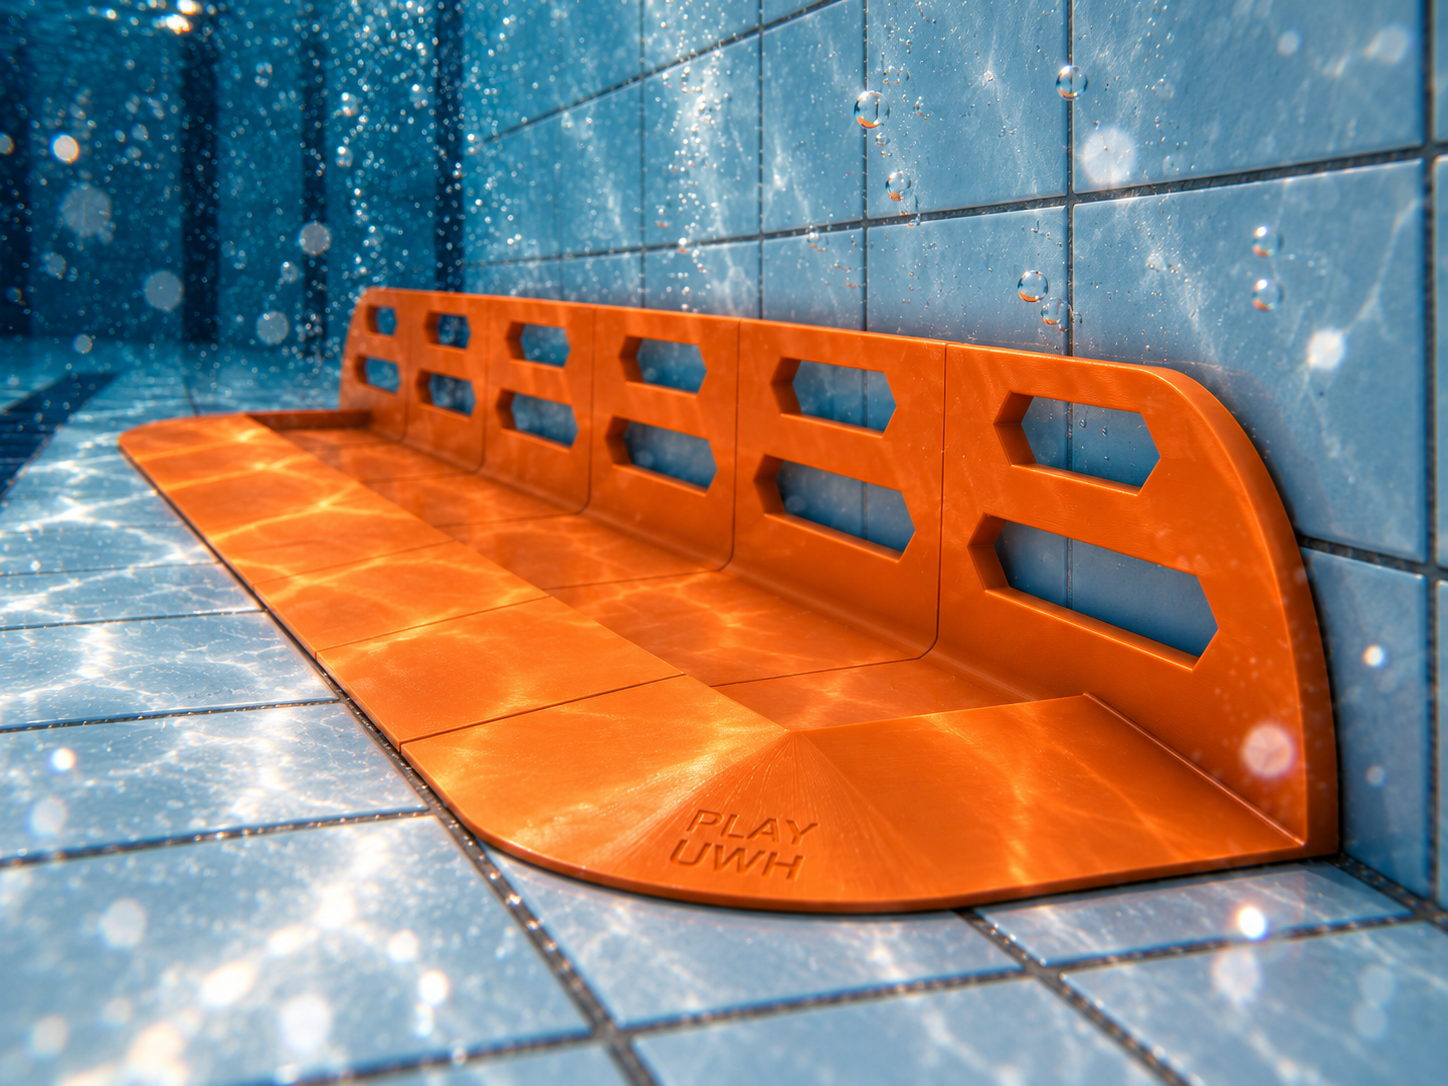
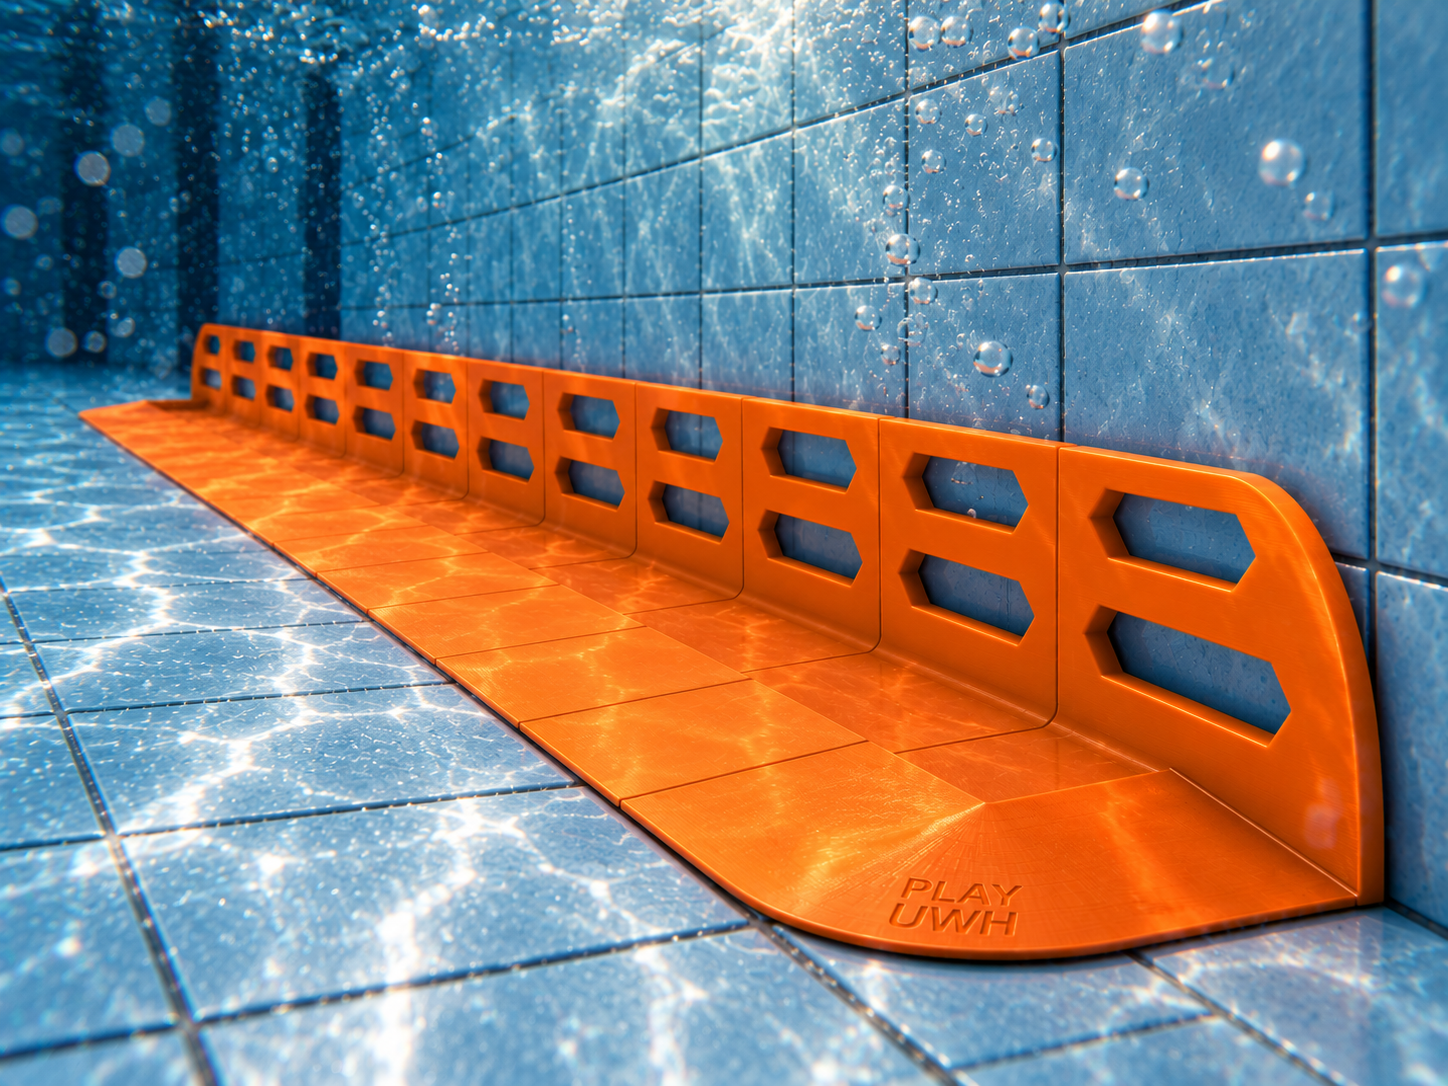
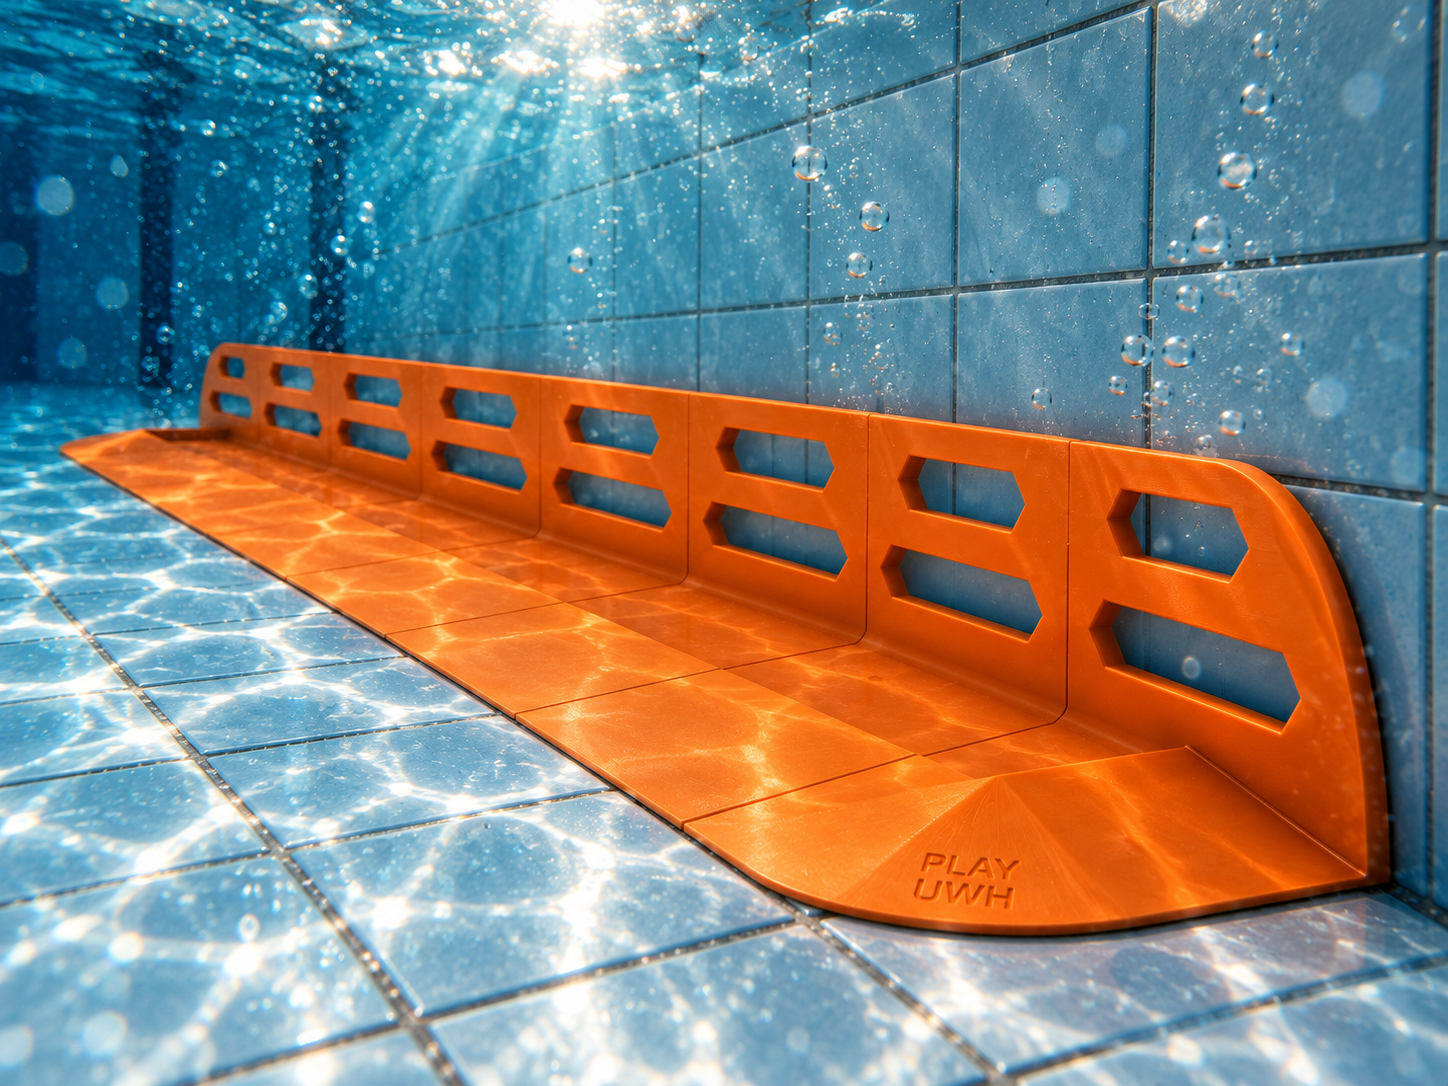
Orange concept visualization of the weighted modular goal.
I’m sharing the editable design files so you can change the ballast compartments, reinforce weak areas, or try different connections and materials. The aim is to make underwater hockey goals more accessible—and to share what works before everyone spends days discovering the same problems.
Why make a printable goal?
I saw modular 3D-printed goals being shared online and liked the idea. The obstacle was the enormous investment in filament and time—and the lack of an accessible model to start from. So I designed a goal that can grow to a full 3 meters, with durability in mind for the knocks, dragging, and impacts it will face around a pool.
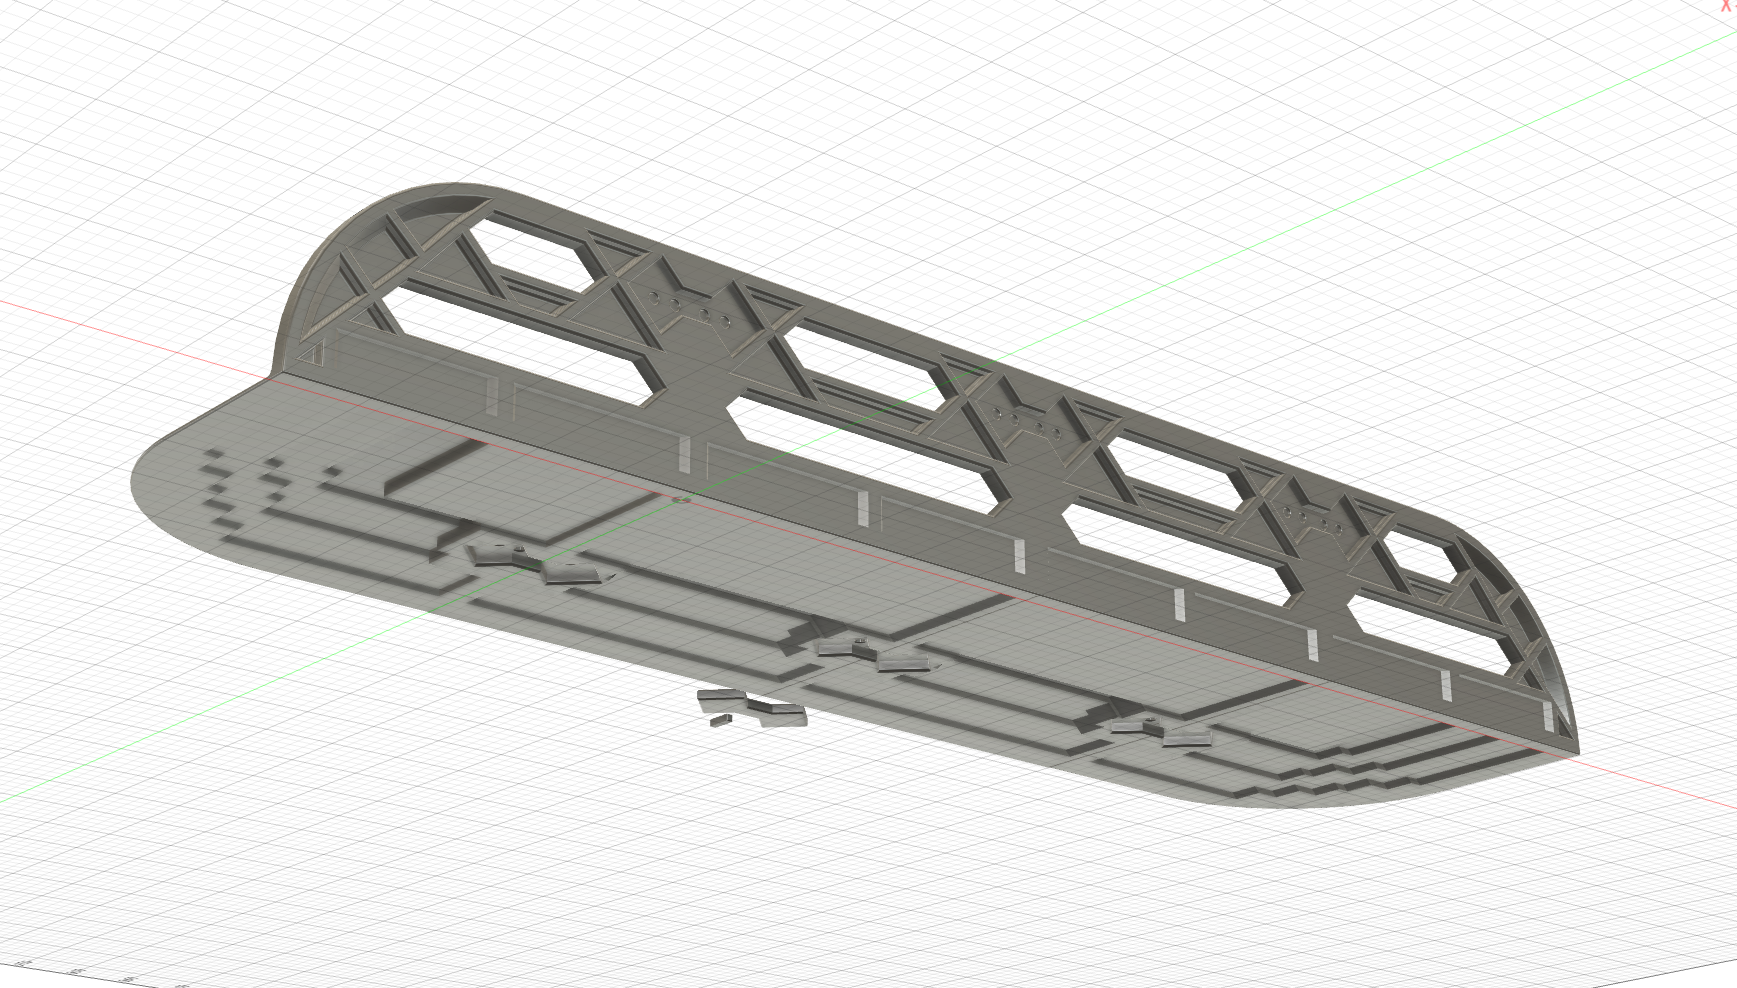
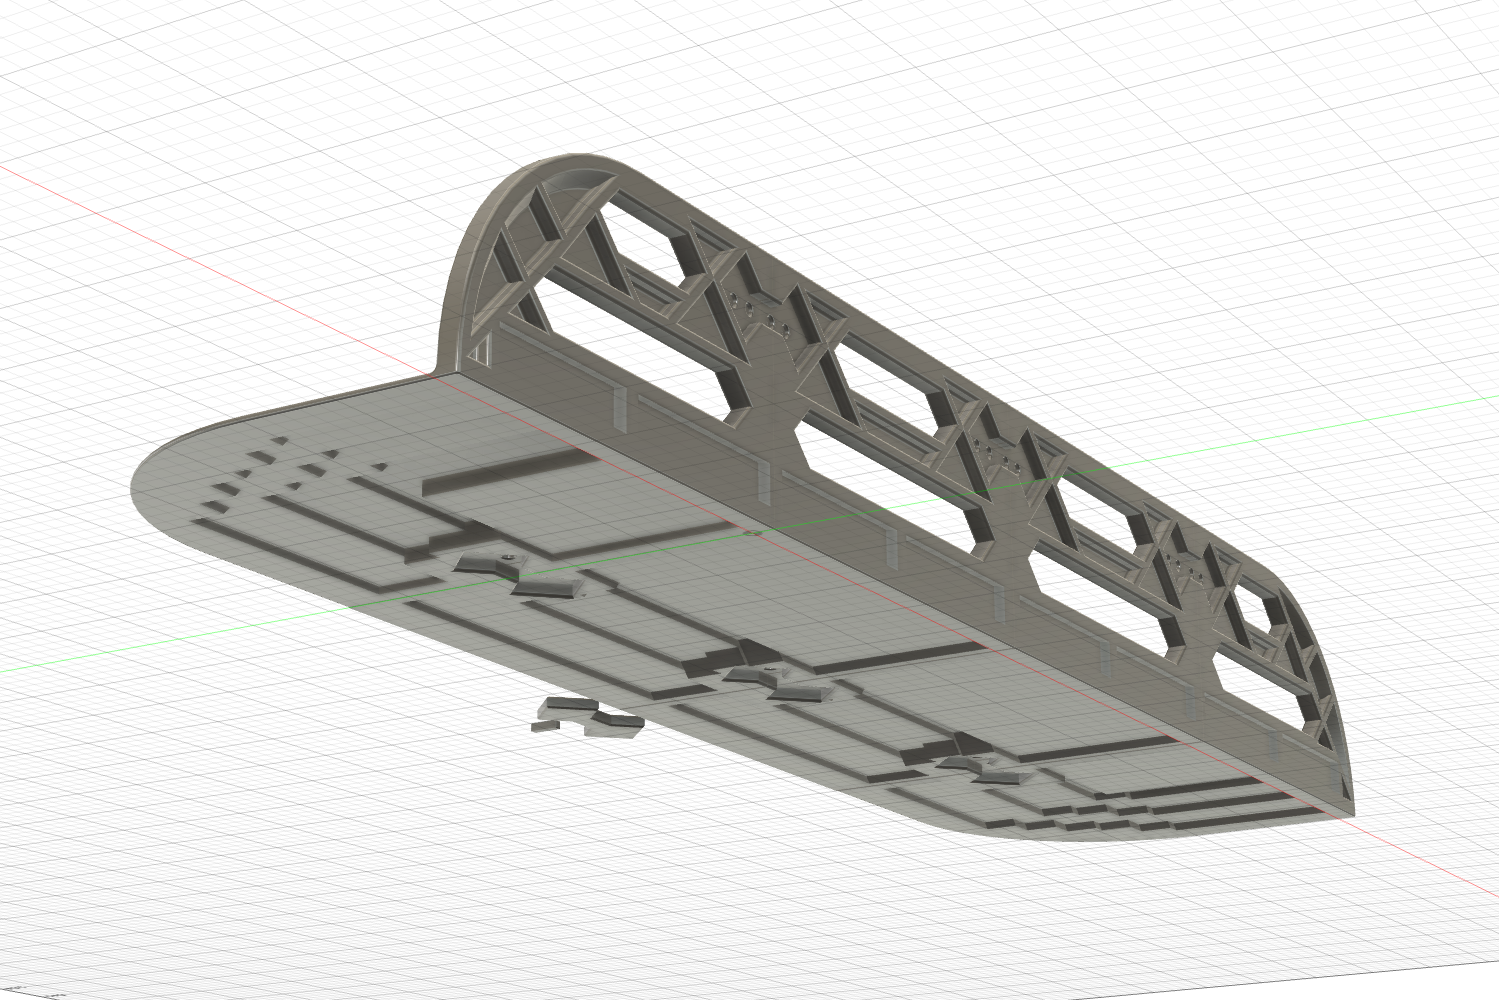
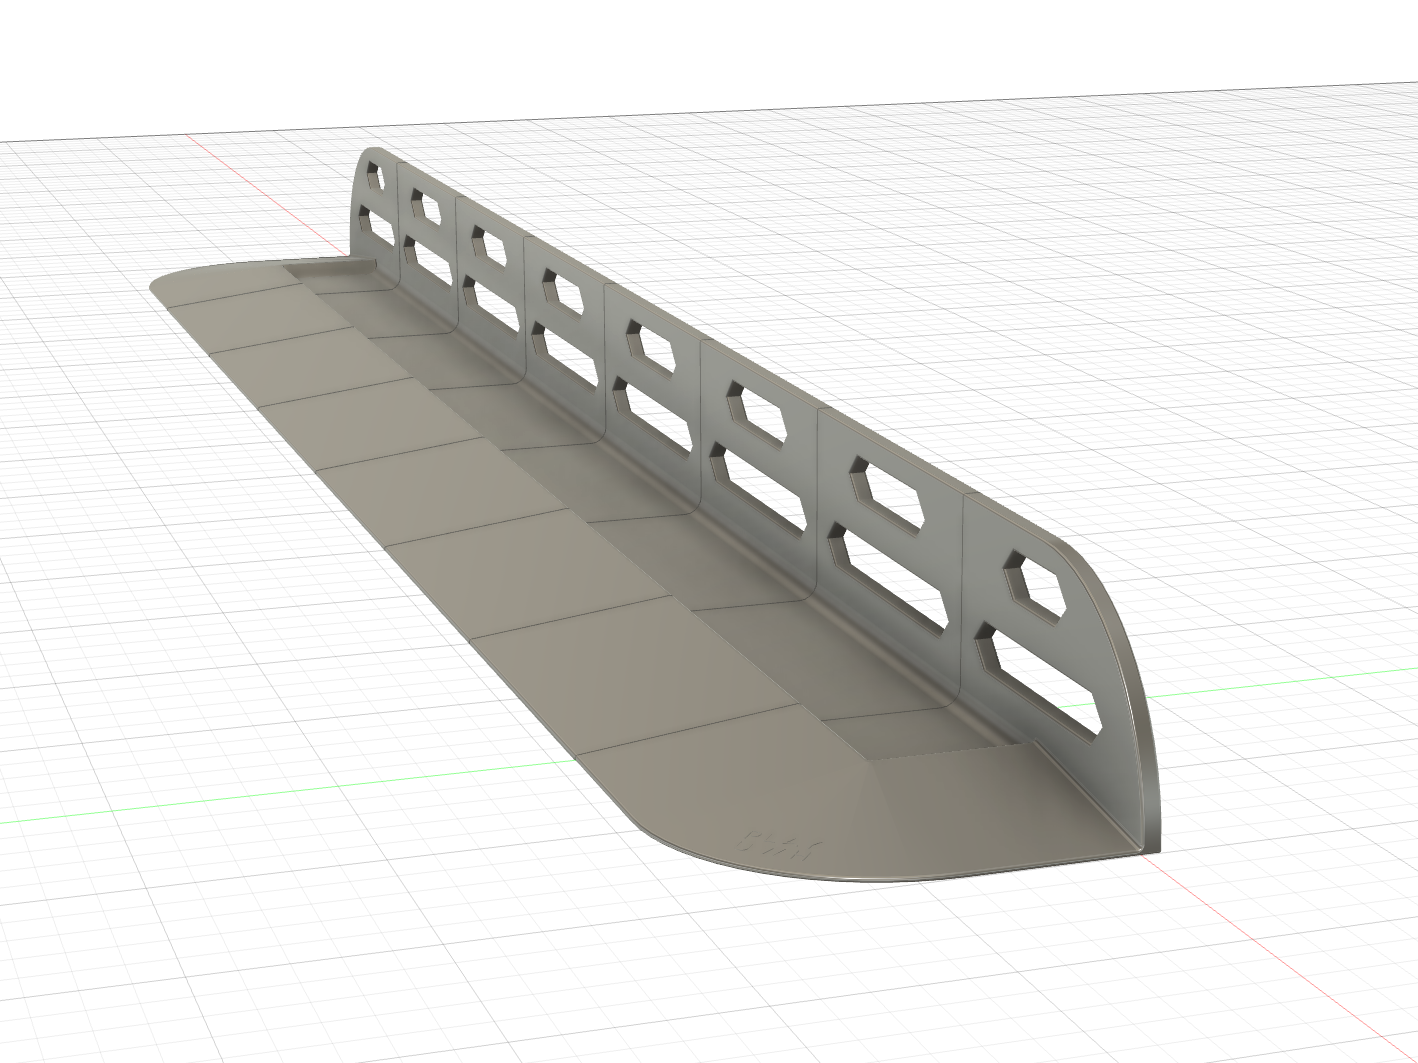
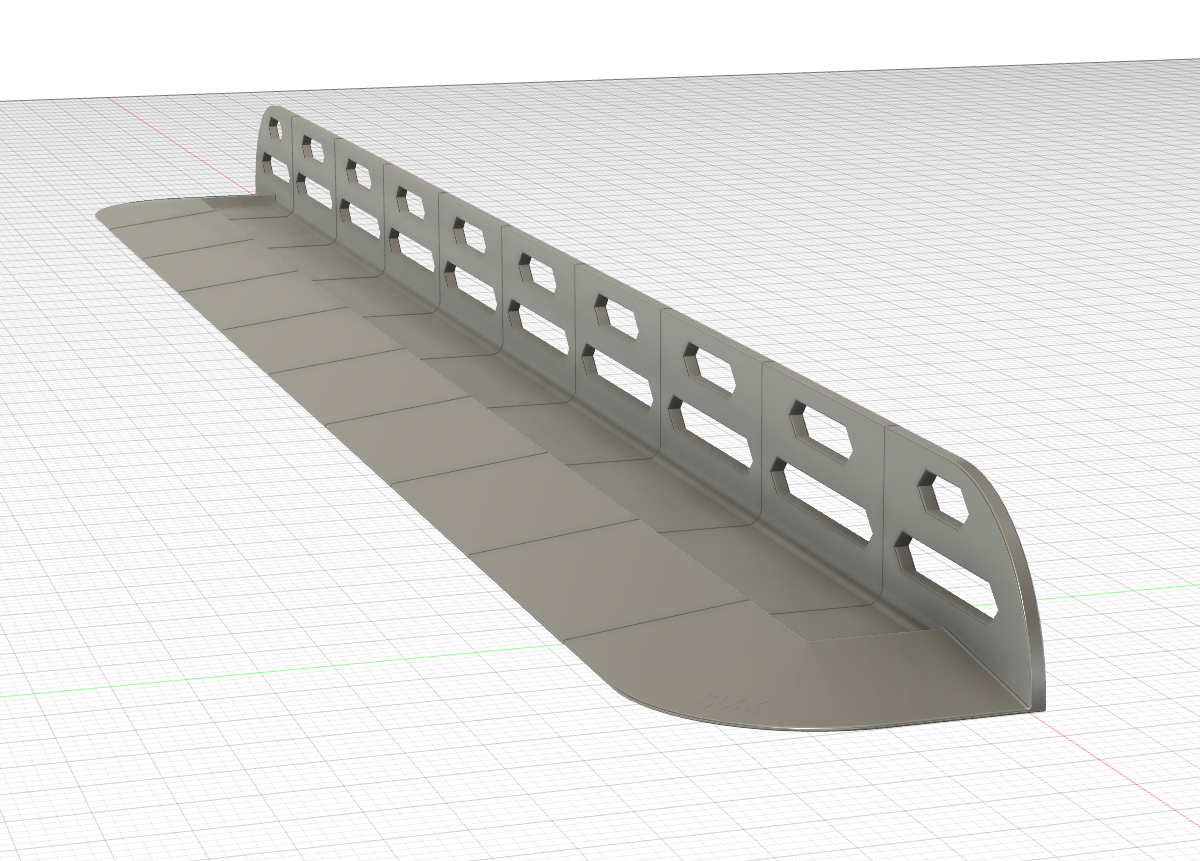
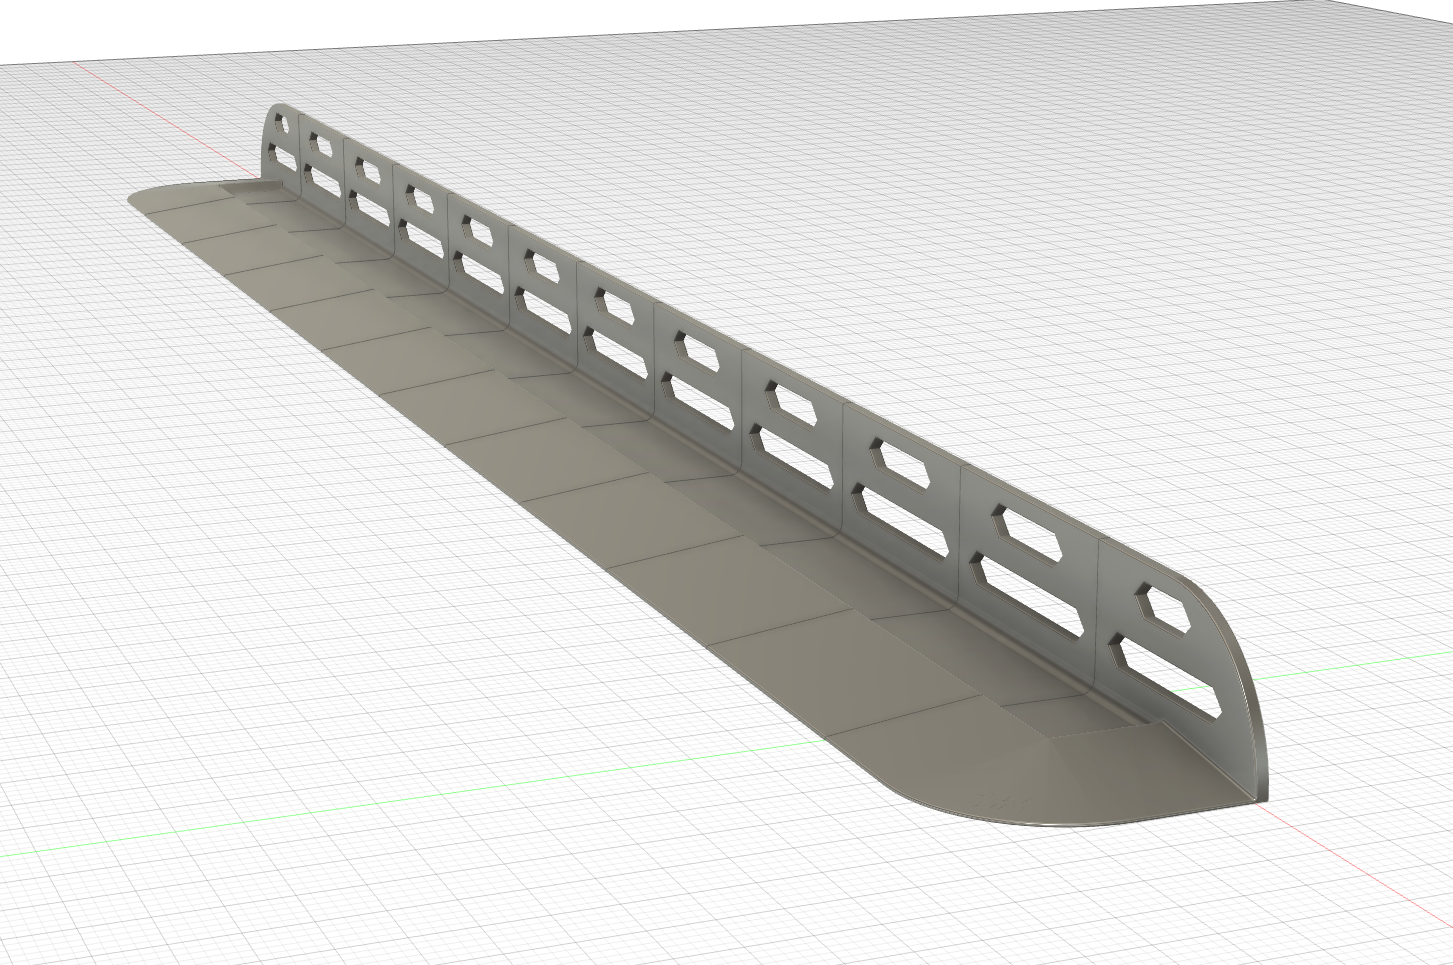
This is the weighted design: adhesive automotive wheel weights sit in recesses underneath and behind each section. The grey Fusion views show the design itself; the orange underwater images are concept visualizations.
Dimensions and the real cost
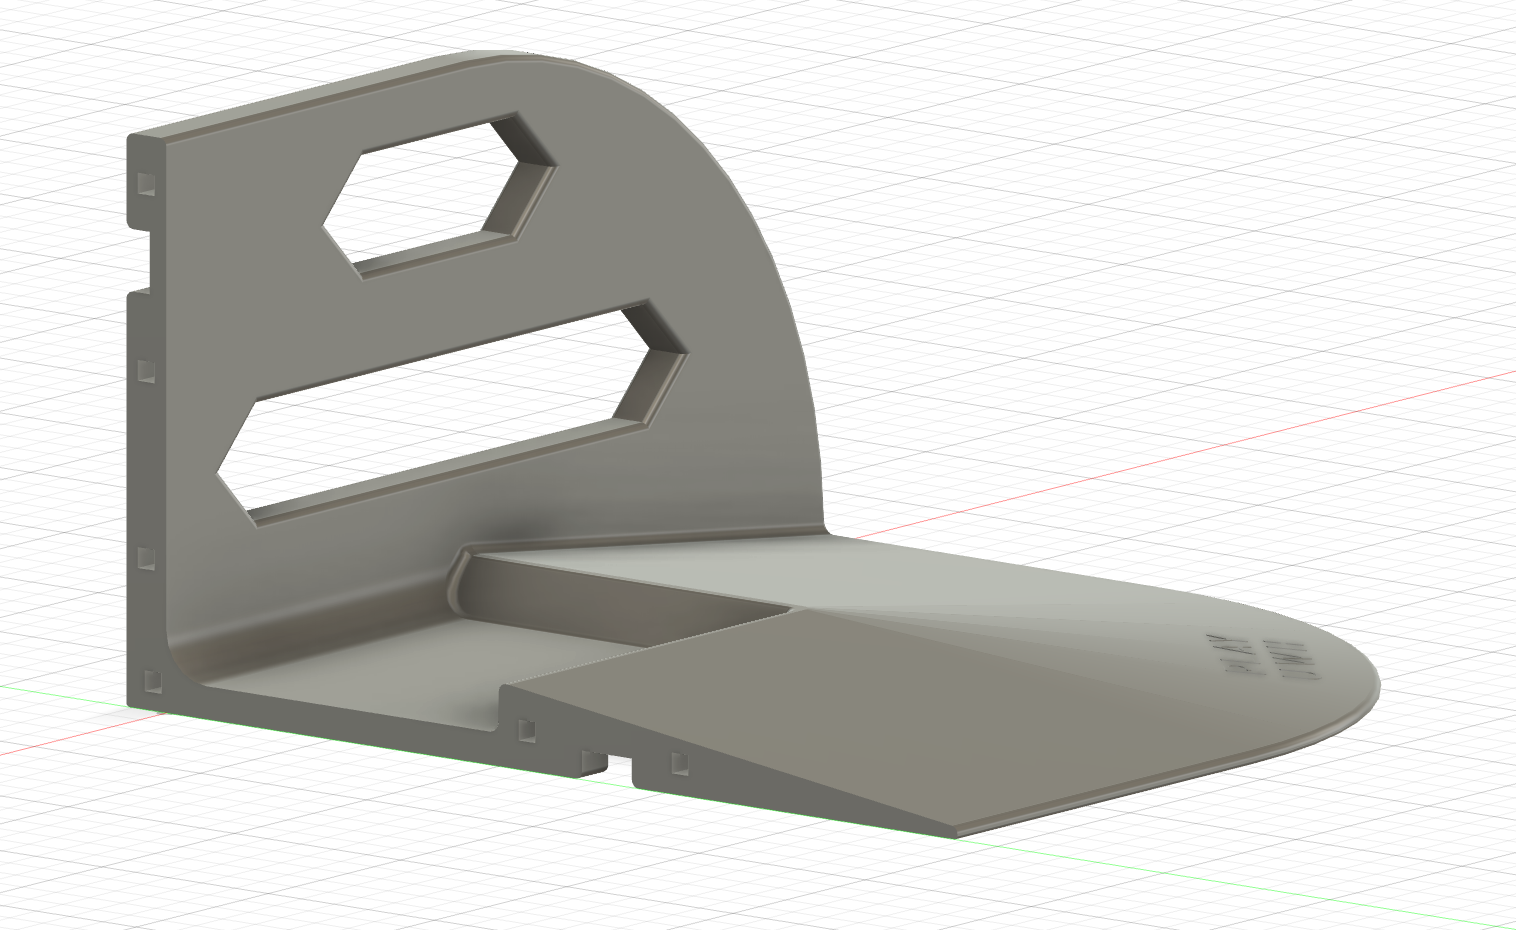
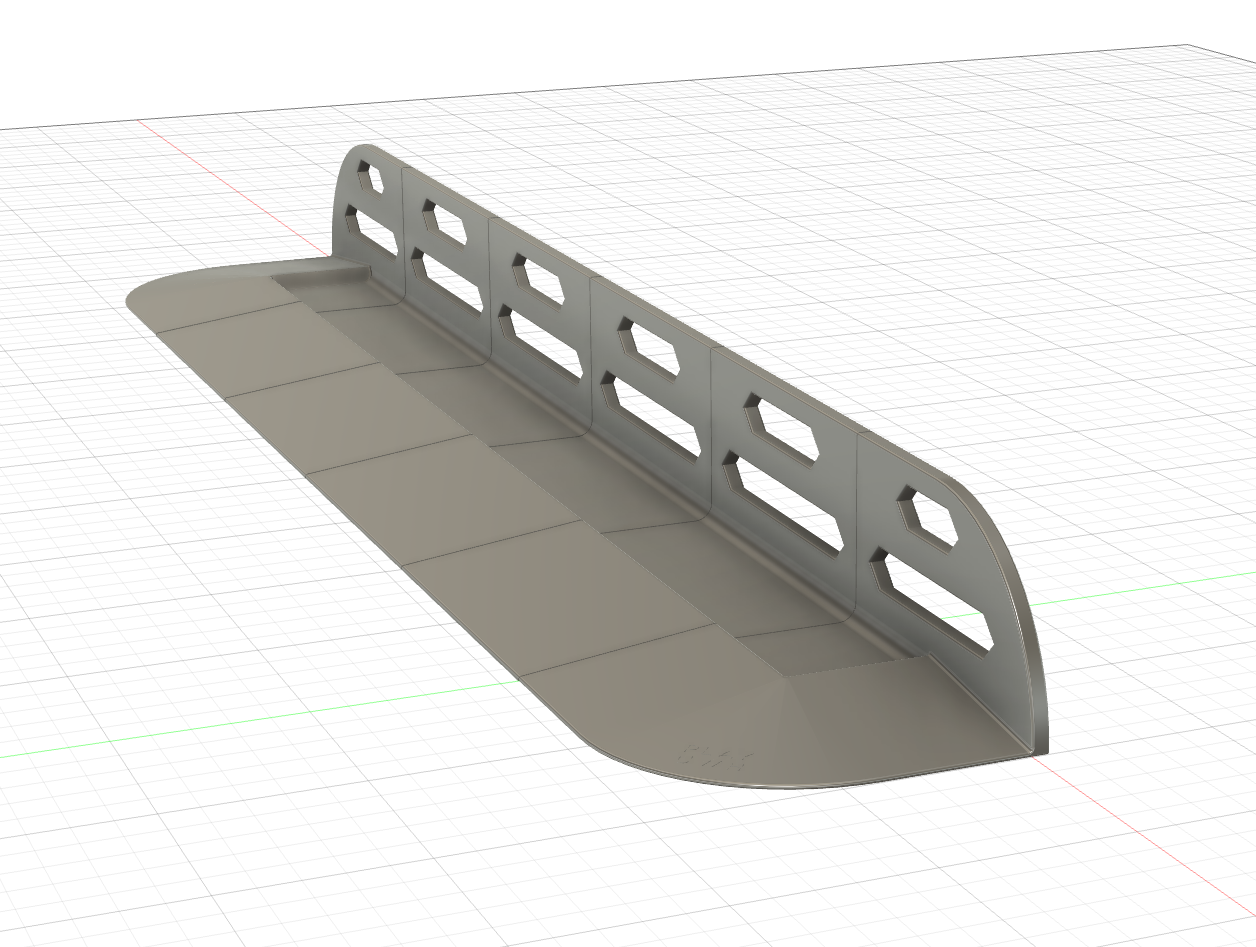
Each section has a 250 × 250 mm footprint and a back plate approximately 138 mm tall. The calculator offers 1–3 m assemblies in half-meter steps, including the shorter usable trough and the approximate weight with ballast.
Prices above use whole rolls and packs, rather than pretending you can buy exactly the amount you use. PETG is budgeted at $13/kg and TPU at $16/kg in bulk multipacks. TPU mass is scaled from 4,574.8 g for a 1.5 m goal; its print time uses 116 hours per two sections. Tax, optional printer cost, and the separate print-farm estimate are shown in the calculator.
You normally need two goals to play. A full-size pair is a serious printing project—use the quantity buttons above to budget for both, and allow for unsuccessful prints.
What the early models show
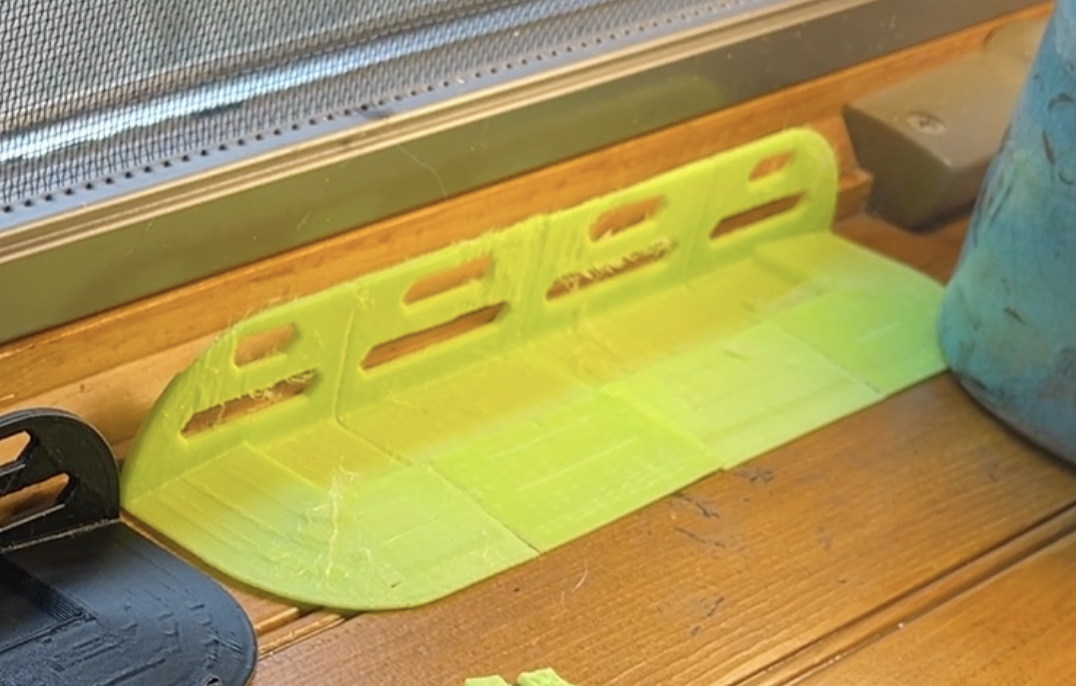
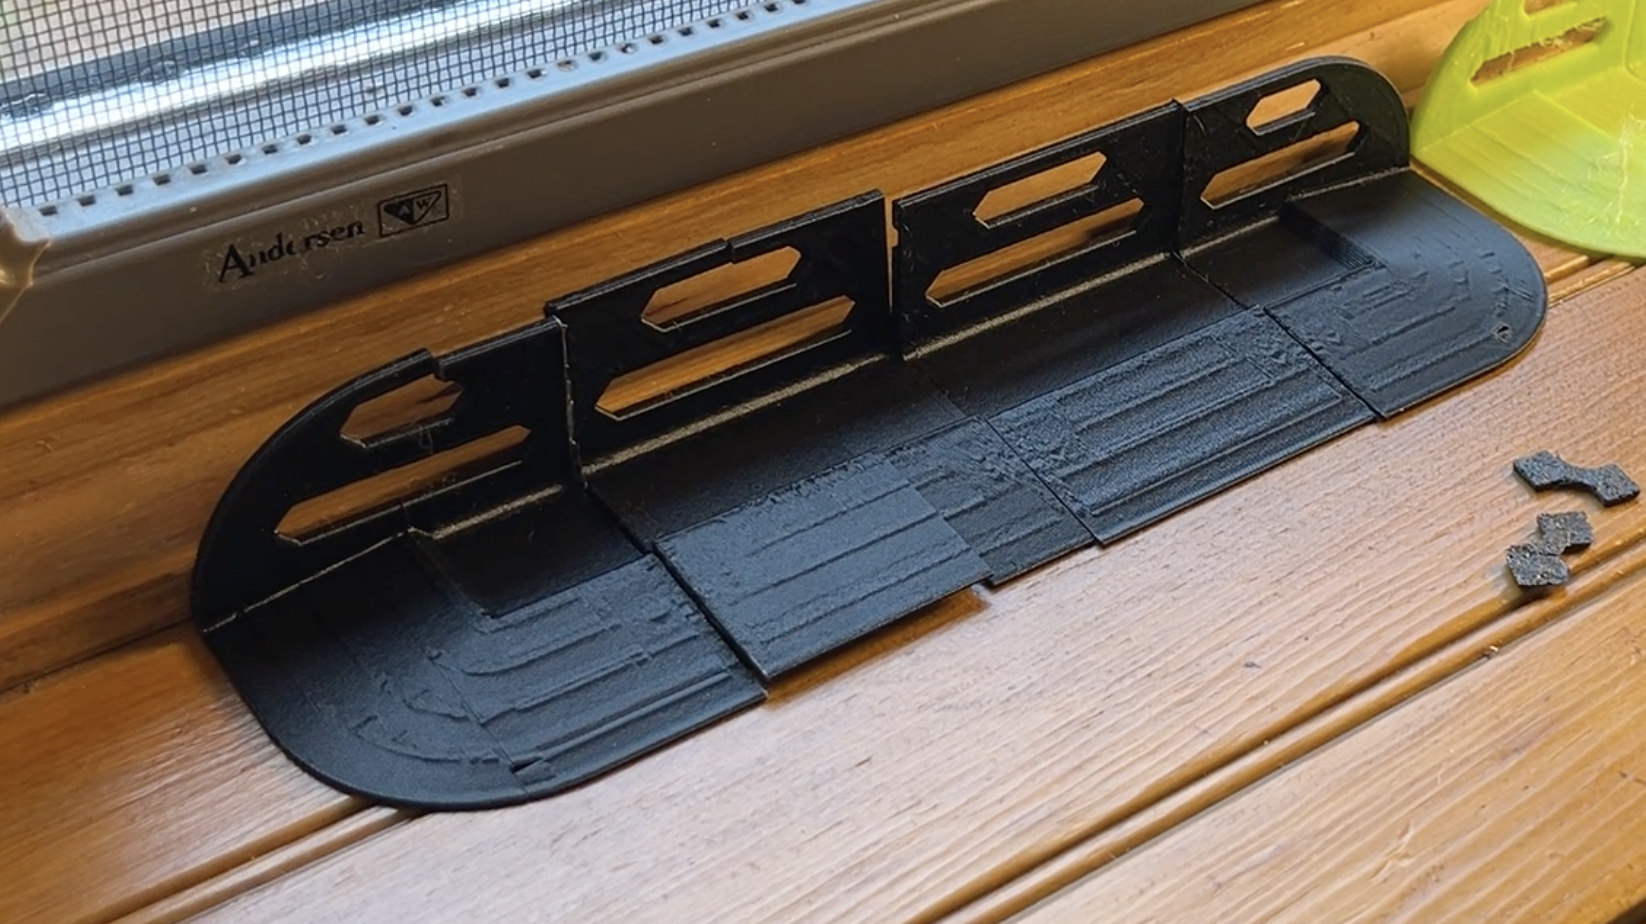
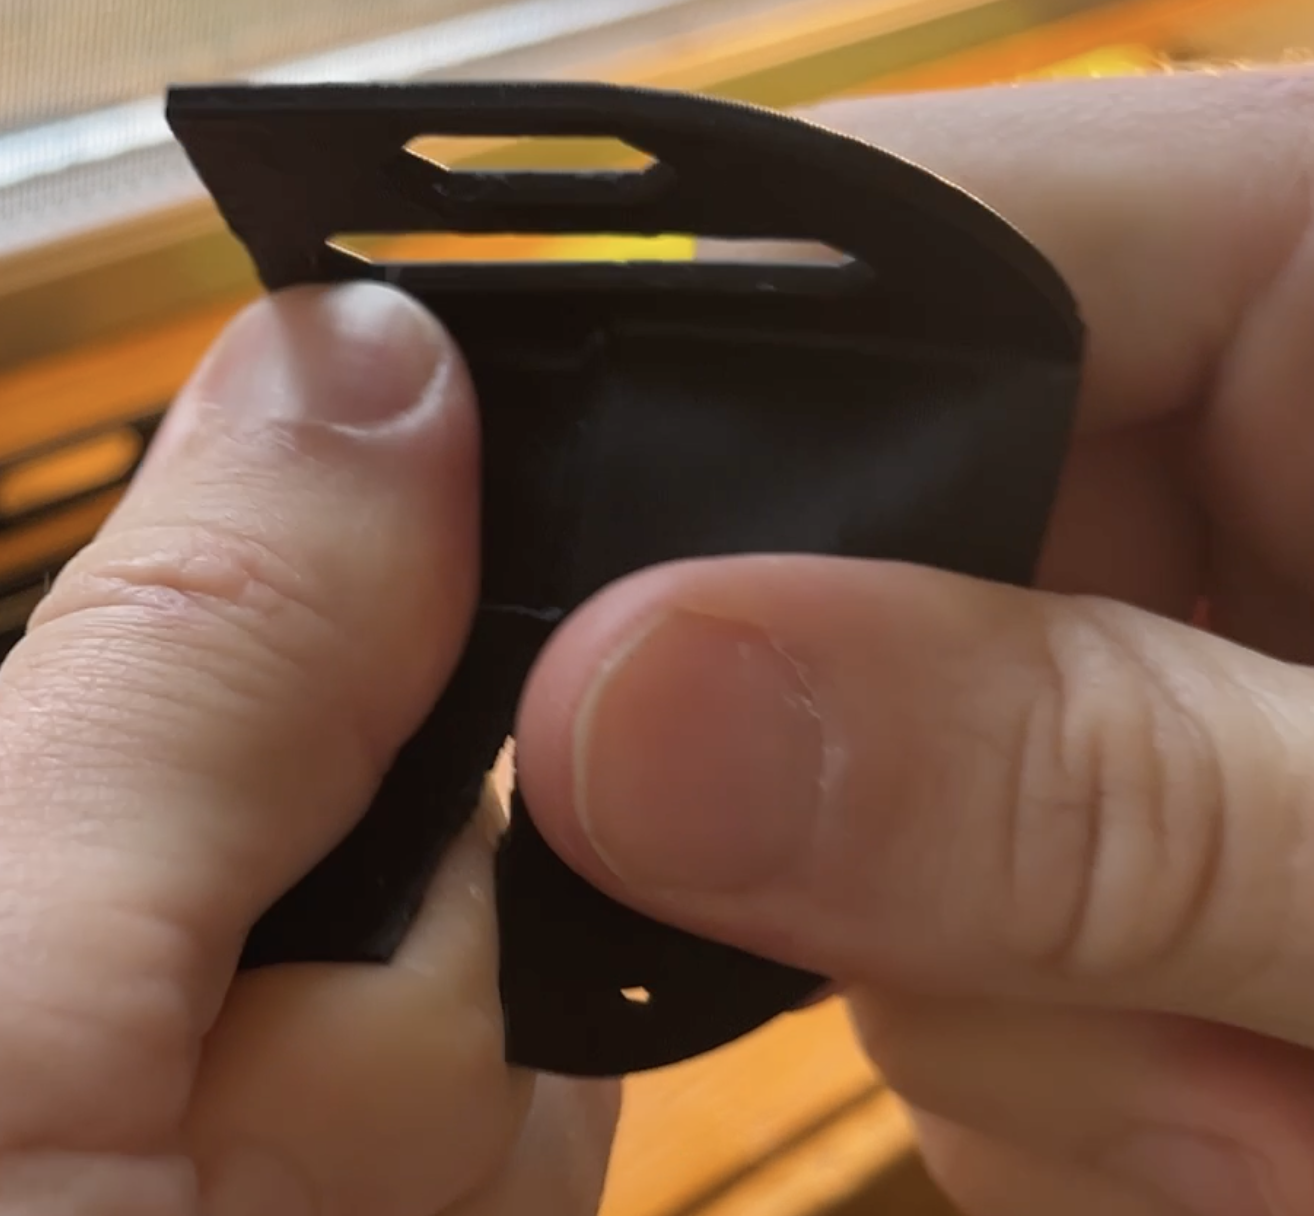
The green models are TPU; the black models are PETG. These small samples help explore flex, layer strength, and connections. They don’t establish how a full-size, weighted goal will behave in a game.
Green: the printed TPU test model.Black: the printed PETG test model.
PETG or TPU?
PETG is the practical starting point: cheaper, faster to print, and relatively rigid. Its weak point is layer strength: bend it too far in the wrong direction and it can crack or snap. Broken sections may be repairable with adhesive.
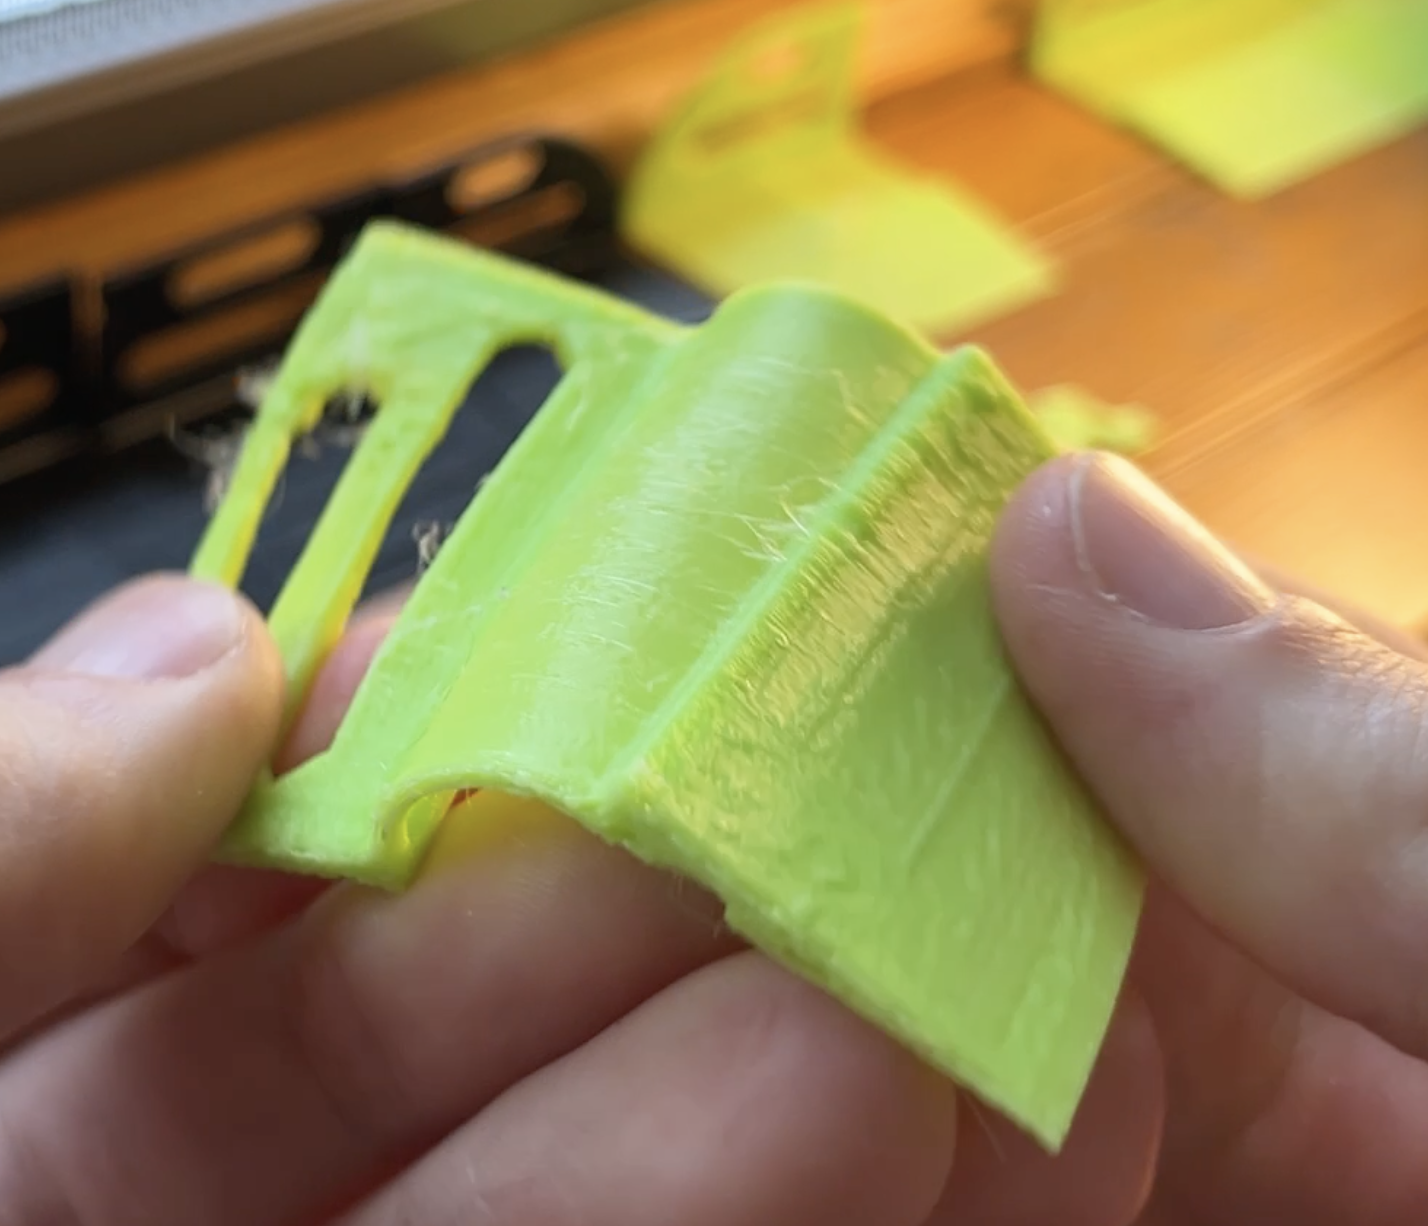
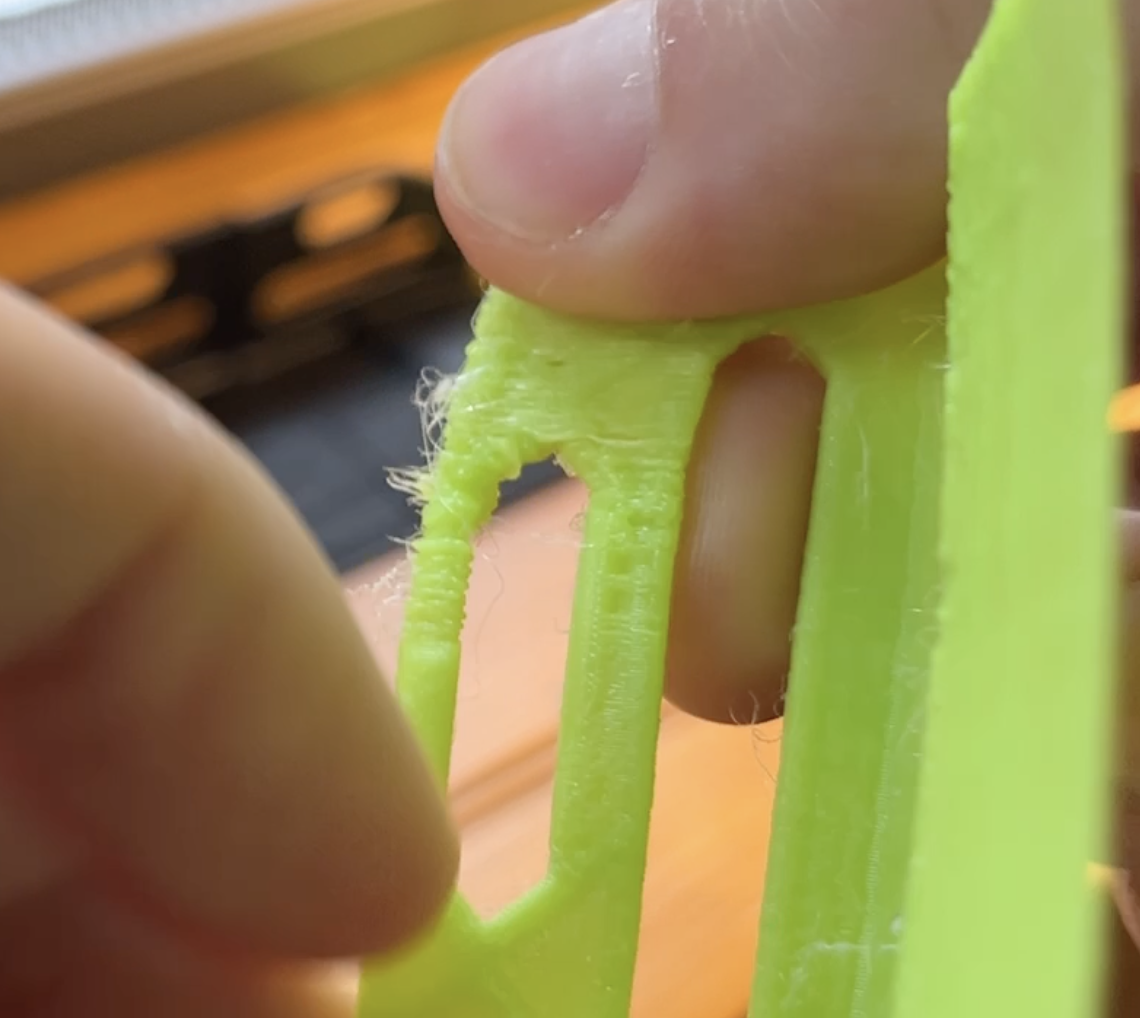
TPU is the experiment I’m most interested in: it flexes instead of cracking and could prove very durable. But tall, flexible parts may move as they print, and thin openings can be difficult to reproduce cleanly. Softer material, longer print times, and extra setup can make it a much harder project.
The calculator above uses my current size-specific estimates. TPU is budgeted at $16/kg versus $13/kg for PETG, with 116 printing hours per two TPU sections. These figures are planning inputs, not a guarantee of print success.
TPU flex in a small printed sample.Examining the PETG corner and back plate.
Why I’m interested in TPU’s extra cost
My hope is that firm TPU could take repeated impacts for much longer than a brittle section that eventually chips or cracks. TPU is an interesting option to explore, especially with the goal supported against a pool wall. Away from a wall, extra flex could be more noticeable.
Could TPU last five or ten times longer? That’s a possibility I’d love someone to test, not a result I can promise. Hardness, print settings, tall-part stability, and ballast retention could matter as much as the material choice. Try one section before committing to the whole goal.
Watch the printed tests
Here’s a closer look at the test models and the print orientation I’m exploring.
The Seattle team reported that Velcro along the back was an easy, strong way to connect their modular goals. They found the small magnetic dog-bone connectors on Chinese-made goals less effective. My connectors join the bottom and back, but I haven’t tested whether that improves the result.
Cairns Crays in Australia reports good results with their Chinese-made goals. From their videos, the ballast appears to be lead, which occupies less space than the automotive wheel weights used in this design.
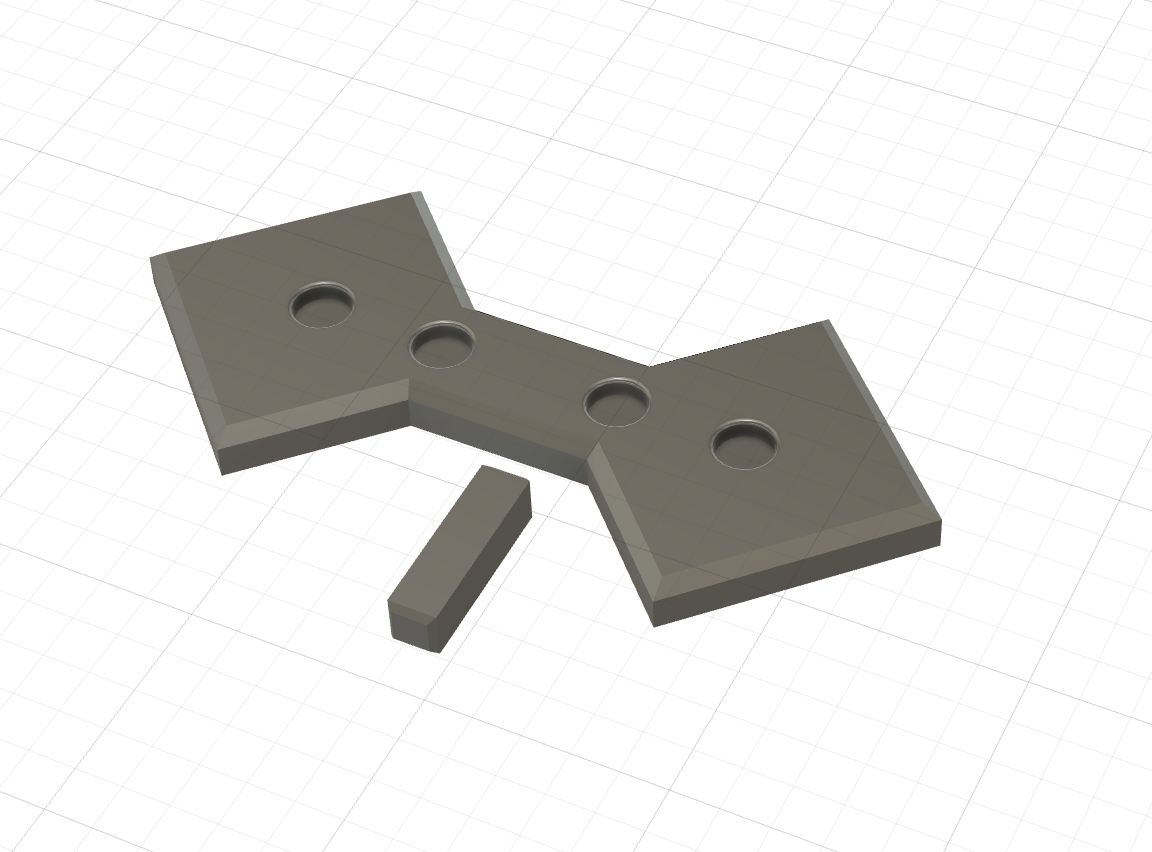
The files include alignment pins for permanent assembly. One option is to glue groups of sections together, then use removable connections between the larger groups for transport. Velcro, magnets, pins, and glue all deserve experimentation.
GOALS IN ACTION
Goals in action with Perth UWH.
Darren’s footage shows modular goals being used in the pool with Perth UWH.
And follow Darren Winata—he’s awesome and makes some of the best underwater hockey content out there.
The design is based on adhesive automotive wheel weights, around $45 for a pack of 960. Each section uses roughly 160–170 weights, adding about 2.5 lb of ballast. My rough PETG density estimate is around 2.7 g/cm³—similar to aluminum—but that depends on the finished assembly and the weights staying put.
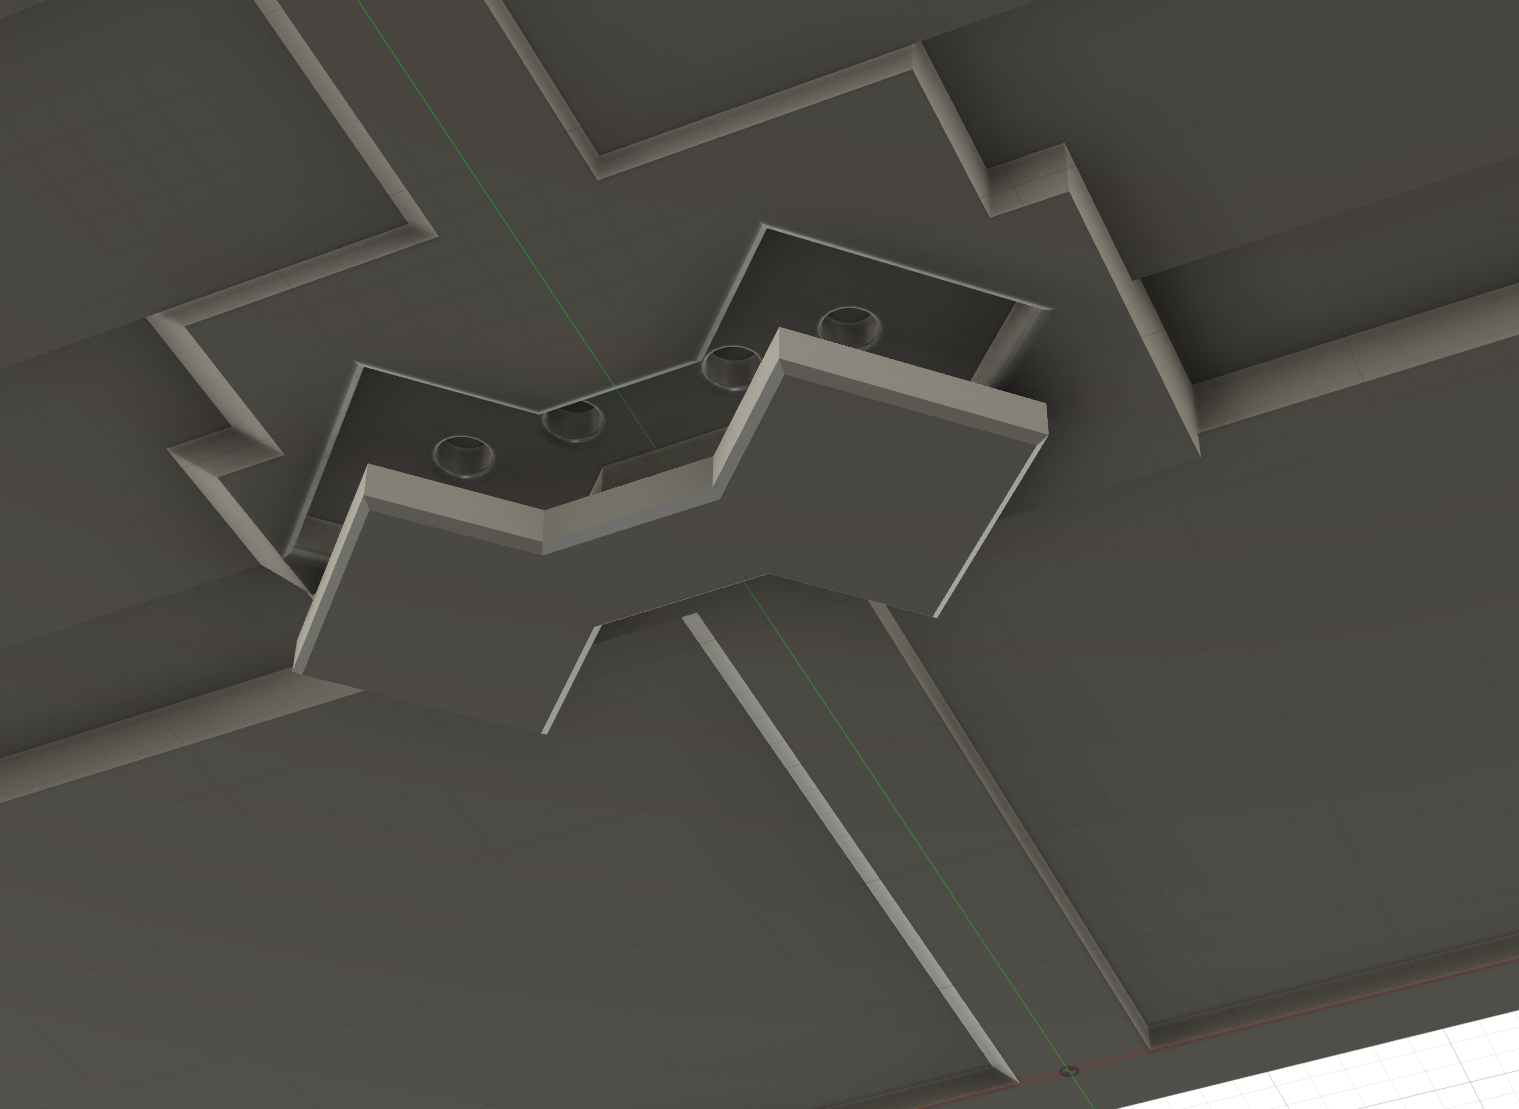
The listed weights are 19 × 16.5 mm and 3 mm thick. Another buyer’s measurement suggested about 4 mm including adhesive, so that is the depth I designed around. Each weight has a 21 × 17.5 mm space: 1 mm of clearance on each side in one direction and 0.5 mm in the other. Some compartments stack up to three layers.
Installing the ballast
Lightly sand and clean the plastic surfaces where weights attach.
Prepare the metal surfaces where additional layers will be glued.
Fit and glue the weights into their recesses, stacking where the design requires it.
Add a mechanical covering to help stop weights falling out.
The original adhesive may not be enough, especially as TPU flexes. Test your adhesive on the actual materials before building a whole goal. Epoxy or duct tape are other ideas to investigate, rather than proven solutions.
Magnetic or permanent assembly
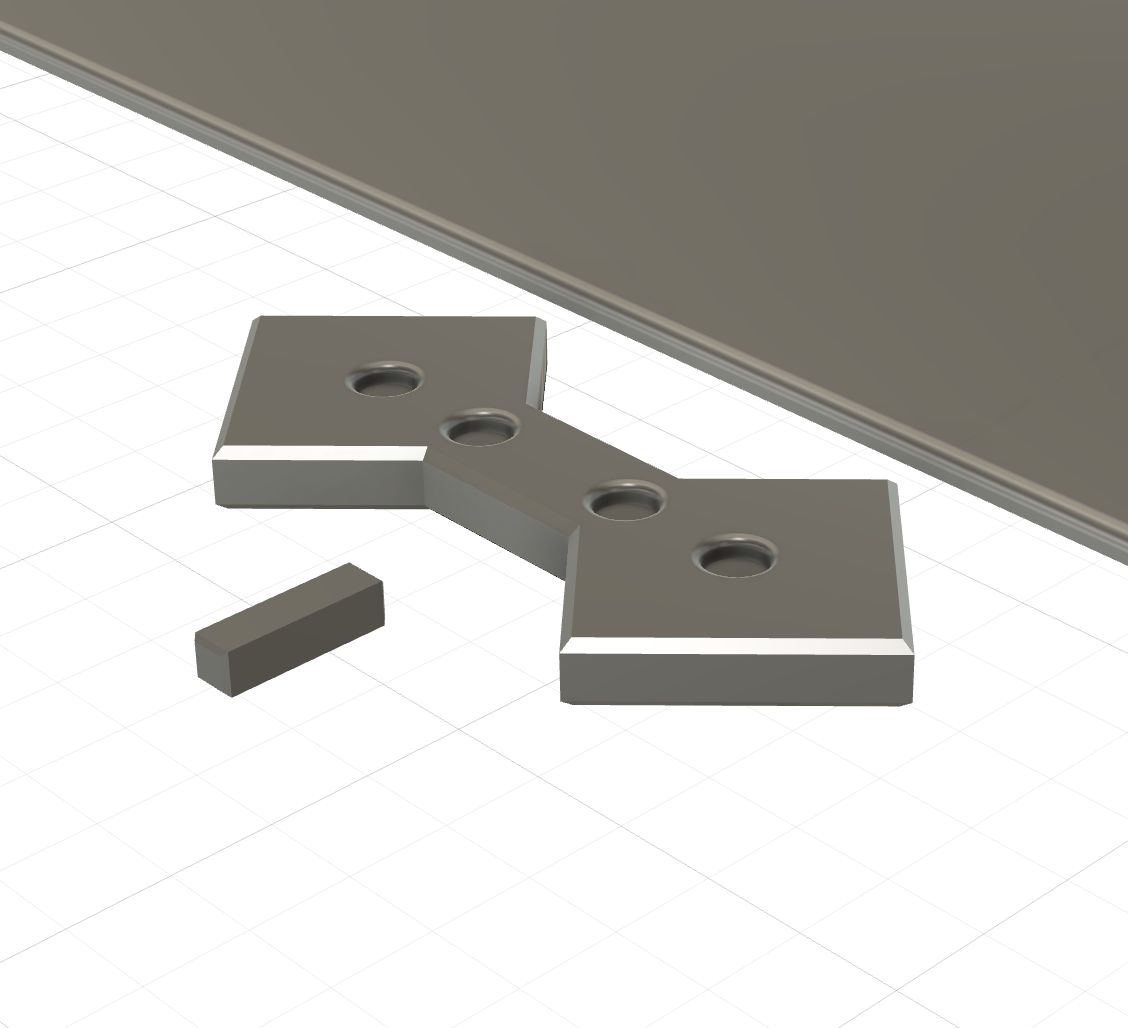
The magnetic connections use 6 mm diameter × 2 mm thick magnets. Glue them into the goal and connector pieces, checking every magnet’s polarity before fixing it in place. The smaller alignment pins are not needed for magnetic assembly.
For permanent PETG joints, I’d sand the mating surfaces, spread adhesive across the contact area and inside the pin holes, then insert the pins. Gluing in the dog-bone connector without magnets can add reinforcement. Thick CA glue would be my first choice for PETG.
TPU needs a different conversation about adhesive: a rigid CA bond may not tolerate a flexible part moving around it. Experiment with products suited to flexible materials, and check the joint before relying on it.
Keep the ballast in—and the front lip low
A thin plastic sheet screwed to the underside could help retain weights in a flexible TPU goal. That also adds thickness to the front lip, where the puck enters. A lip that starts around 2–3 mm could become 4–5 mm with a cover.
Making the lip thinner might compensate, but that needs design changes and testing. Adhesive compatibility, mechanical retention, and how the goal sits on the pool floor all need attention.
Concept visualization of the underside and ballast recesses; not a photo of a tested goal.
Print orientation is a trade-off
My current recommendation is to print the sections on their sides, as shown in the video. I think this could improve resistance to impacts across the back while reducing build plates and avoiding extensive supports beneath the ballast compartments.
Printing upright could improve strength against a different direction of force, but may require about twice as many printing jobs, extensive supports, and much more cleanup. Until a complete goal is tested in play, I don’t know which orientation offers the best balance.
Walls, adhesion, and cleanup
The main parts are designed to print standing on their side without supports, using 100% infill made up of walls/perimeters for strength. That is the intended setup, not a guarantee that every filament and printer can reproduce it.
Build-plate adhesion is a concern: the parts are tall, cover much of the plate, and have a relatively small footprint touching it. Similar pieces I’ve printed can start lifting late in the print. A lifted edge could stop the next section lining up, after using most of a roll of filament.
Start with a clean plate, strong adhesion, and potentially a generous brim. Horizontal magnet holes may need sanding or careful cleanup before the magnets fit. With TPU, tall sections may flex or move as the nozzle works; softer grades can require slower speeds. Check one section at full size before investing in a complete build.
Make it your own
Use the Fusion file to resize ballast compartments for local materials, remove cutouts, reinforce the back, or change the connections. It’s an editable starting point, and I hope the community can make it stronger, easier to print, and more affordable.
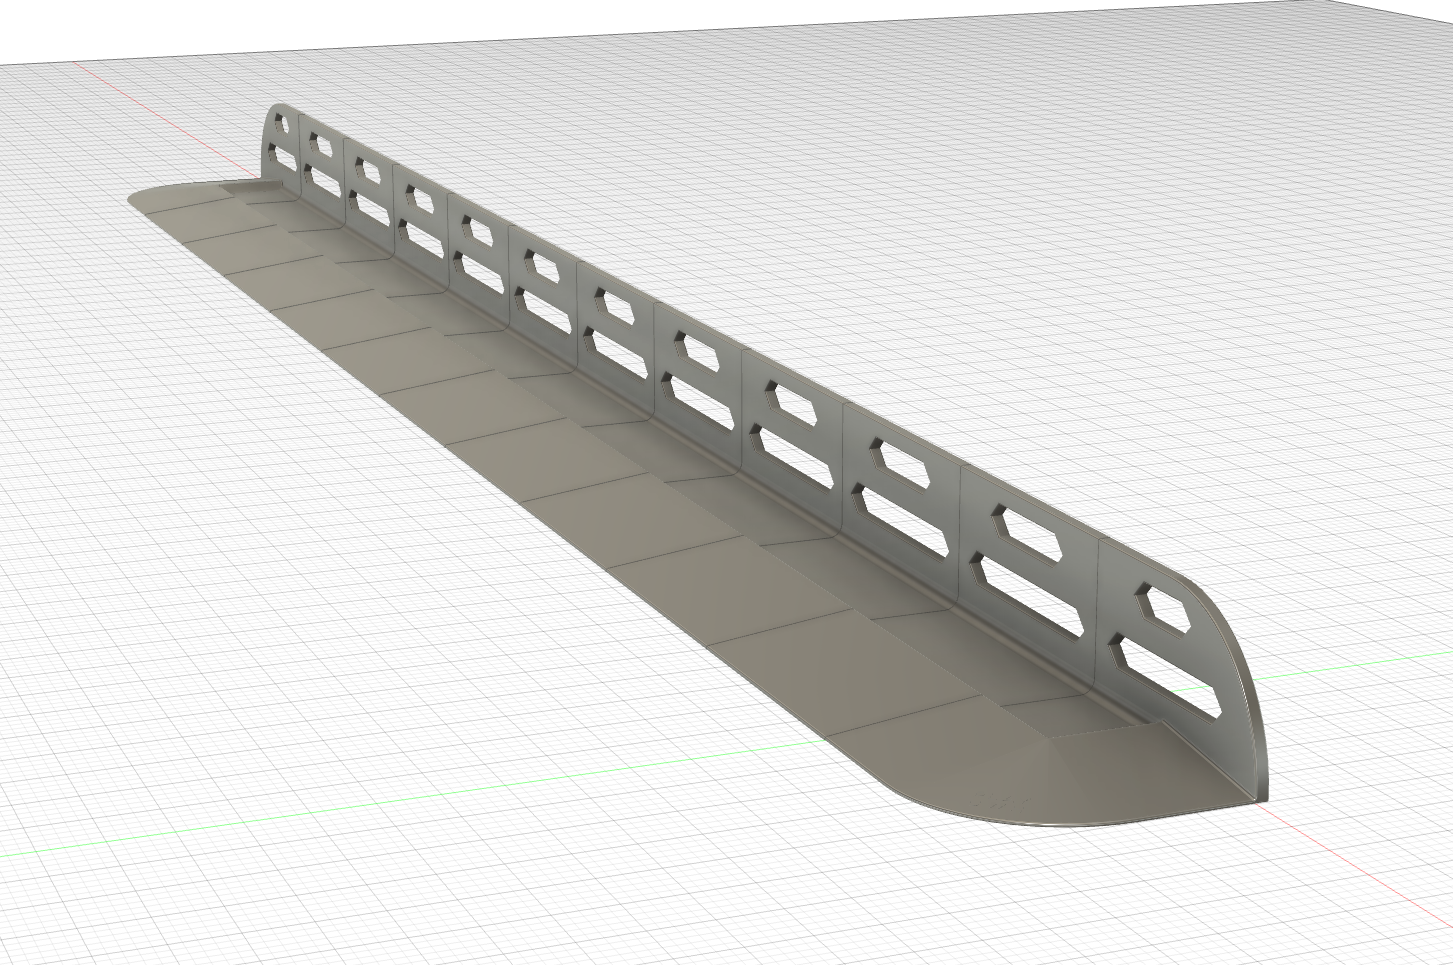
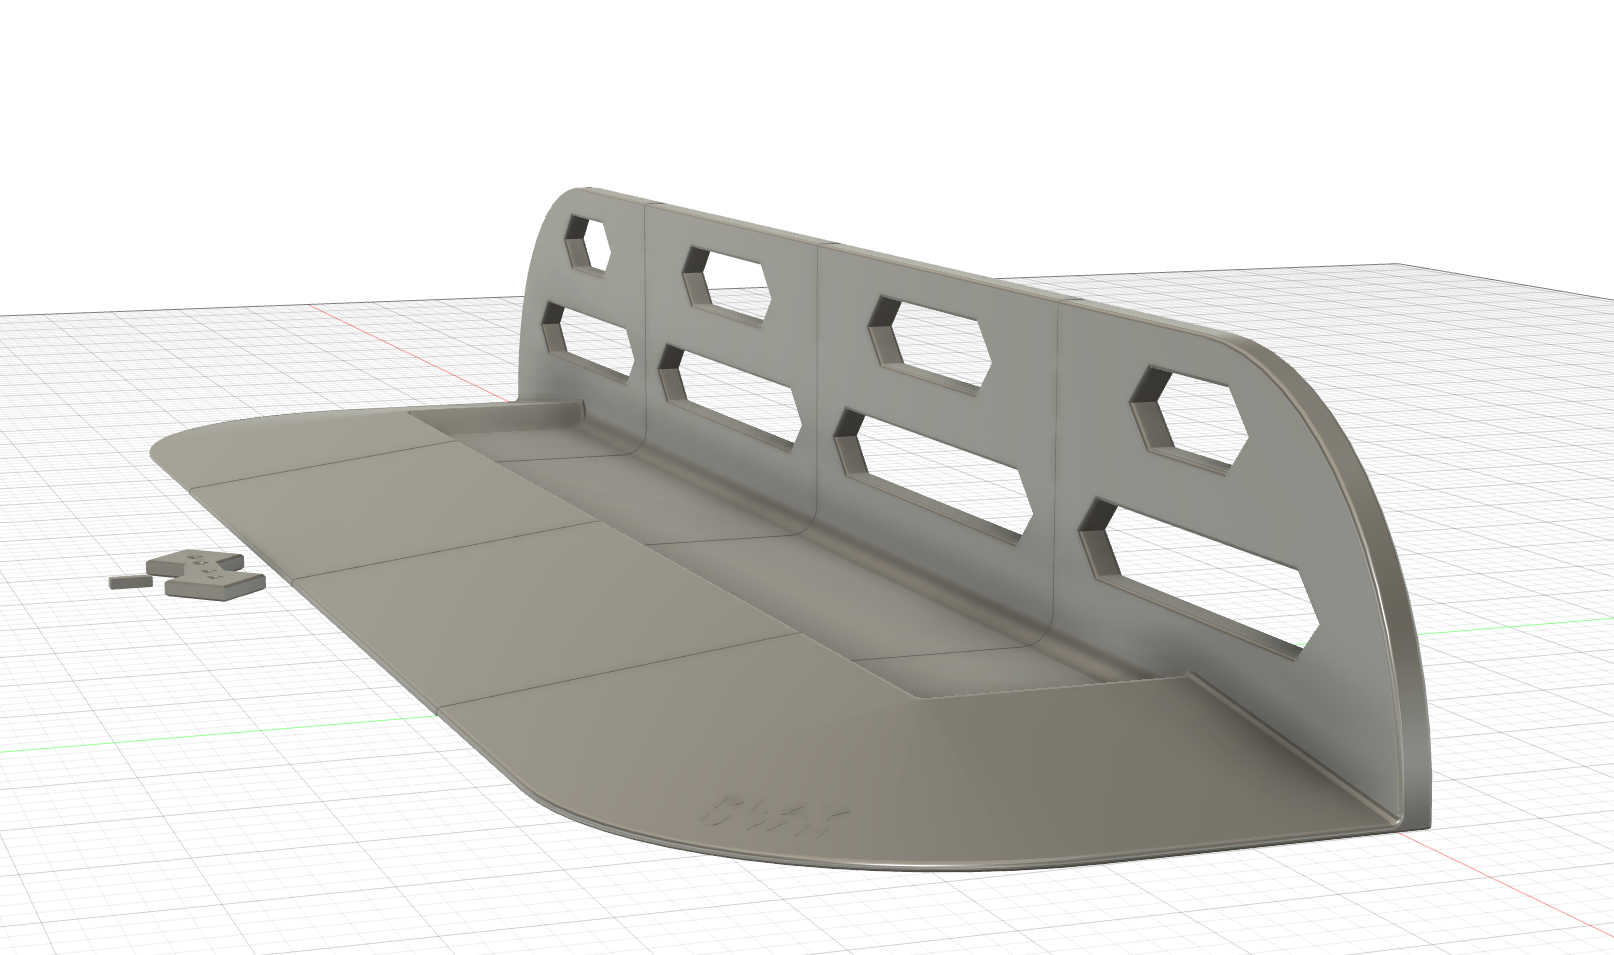
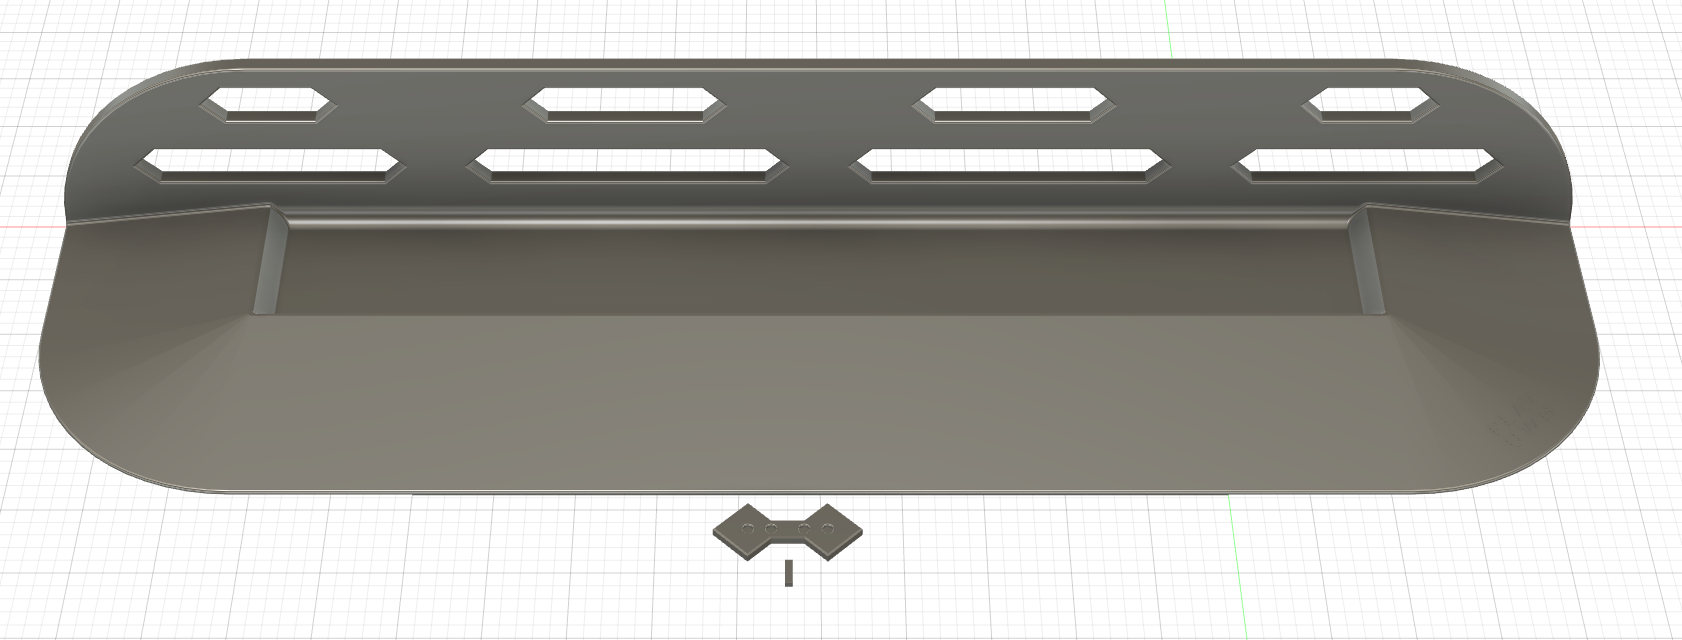
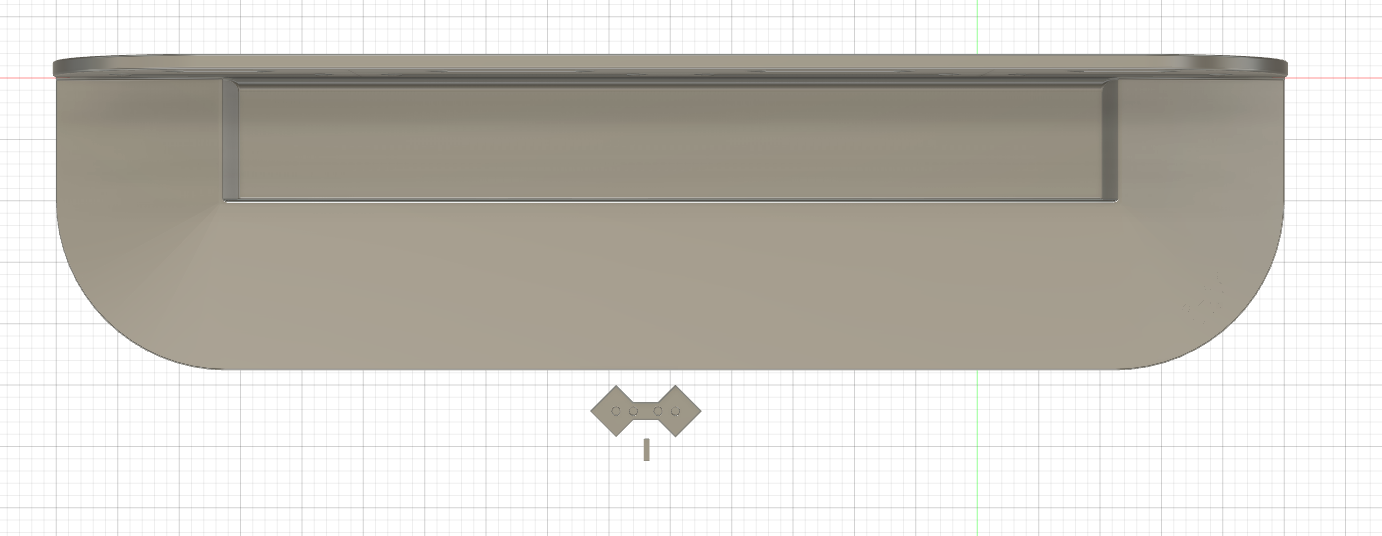
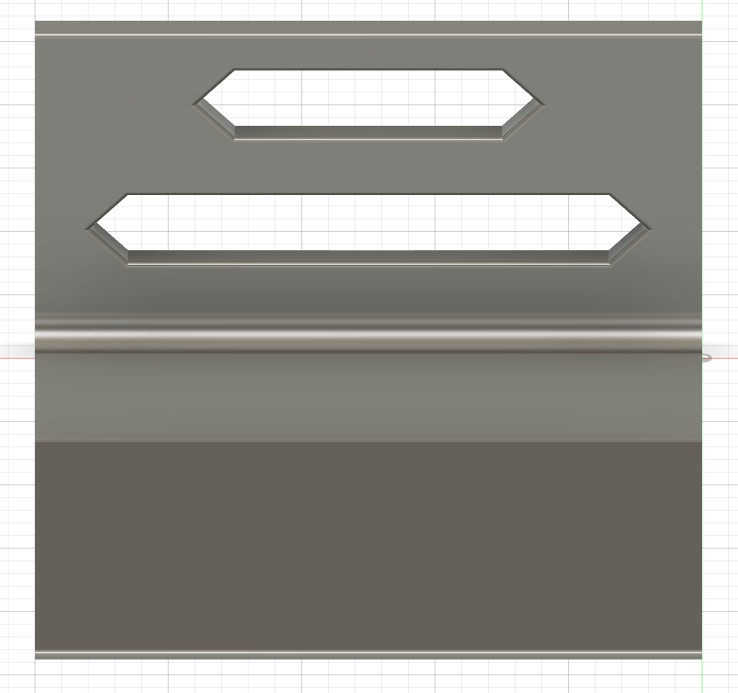
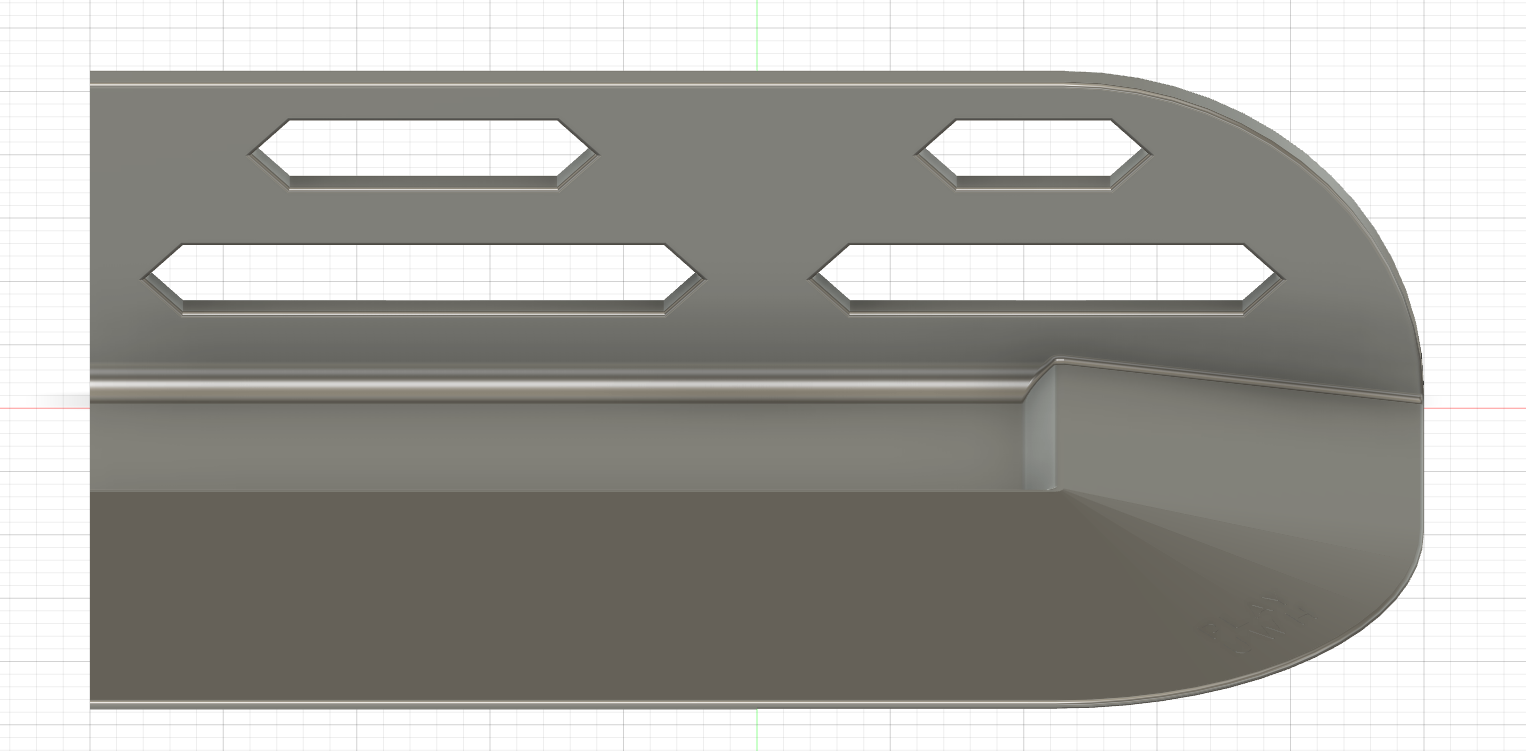
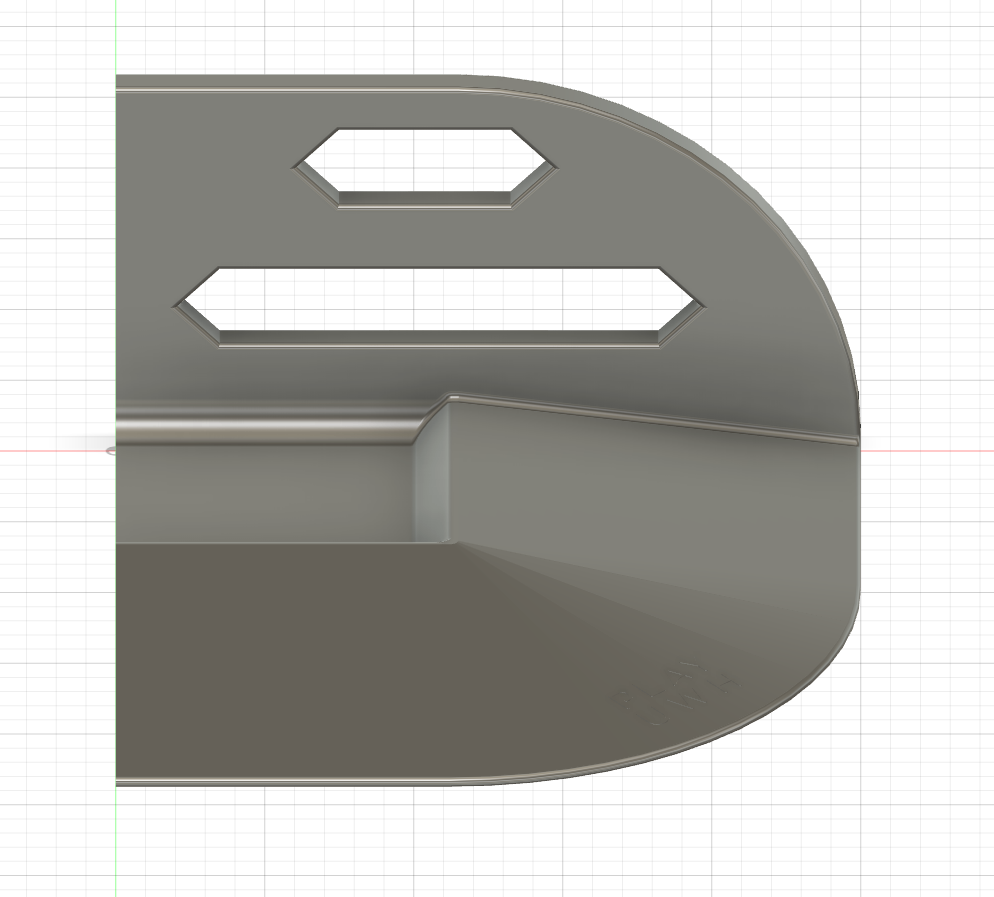
Fusion design view: ballast compartments, reinforcement, and modular connections.
Explore the design
TPU test model: detail around an opening.Fusion design view: a longer assembly.Fusion design view: front corner.Fusion design view: connector and pin detail.Fusion design view: trough and back plate.Fusion design view: top view.Fusion design view: rear reinforcement.Fusion design: corner section and connection sockets.Fusion design: straight middle section.Fusion design: middle and corner sections joined.Fusion design: corner section from above.Fusion design: modular goal assembly.Fusion design: full goal from the front.Fusion design: long modular assembly.Fusion design: underside connector recess.Fusion design: full-length goal.Orange concept visualization: a longer goal.Orange concept visualization: front corner.Orange concept visualization: full-length assembly.Orange concept visualization: goal at poolside.
Swipe or use the arrows to browse the Fusion views and concept images.
A REQUEST FROM THE DESIGNER
Please keep it open.
It should go without saying, but I’d love you to keep this model open for others to work on when you make improvements. Please share your contributions and keep derivative design files free. Selling a branch of this file—or a file built from the work shared here—would go against making underwater hockey more accessible, enjoyable, and affordable worldwide. Charging for printing and assembly is different: that takes materials, equipment, and physical labor, and I understand getting paid for it.
Share a link to your improvements in the comments so the next team can build on them.
Share what you learn
Within the first day of release, the models received roughly 30–40 downloads. Even a few completed goals would represent a huge investment of filament, printer time, and effort. Let’s help each other avoid repeating the same mistakes.
Share your material and print settings, assembly method, ballast dimensions, what broke, and what worked in play. You don’t need a completed goal to contribute: an idea, a failed test, or a potential problem is useful too.